Managing Mailing Lists
Managing mailing lists can be done using the Windows version of the Microsoft Outlook Desktop client, or through the Web Page interface. There is currently no method to manage mailing lists using the Macintosh Outlook Desktop client, so for Macintosh users, the Web Page interface is the only option for managing the mailing lists. Only Wittenberg e-mail addresses can be added to campus mailing lists.
- Managing Lists through the Web Page Interface
1. Sign into https://portal.office.com/ 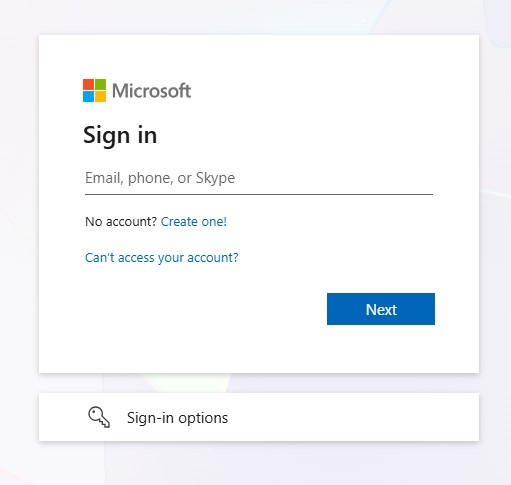
2. Click on the Apps button found on the left-hand side of the screen. 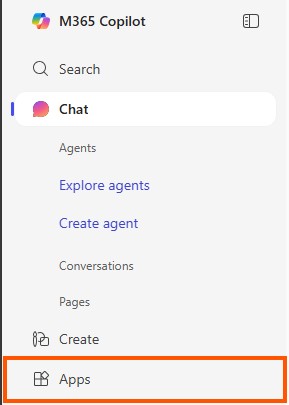
3. Click the Outlook button found under the Apps header. 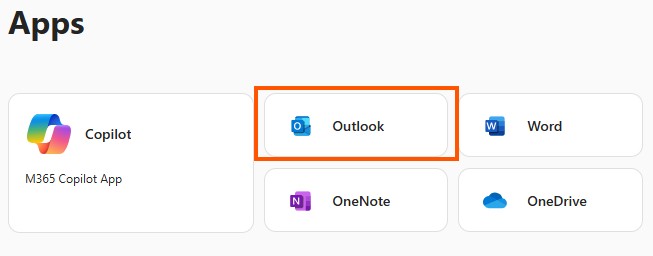
4. Click the Cog Wheel in the top right corner. 
5. Select the General option, then select Distribution groups 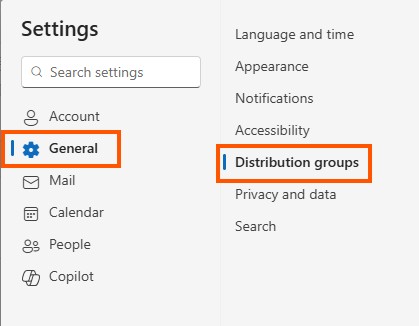
6. Click the link at the end of "To manage Distribution groups, visit this portal" 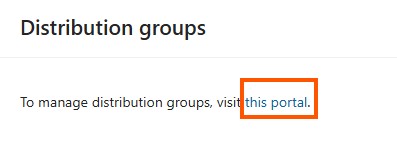
7. Select "Groups I own" to view lists you can manage. 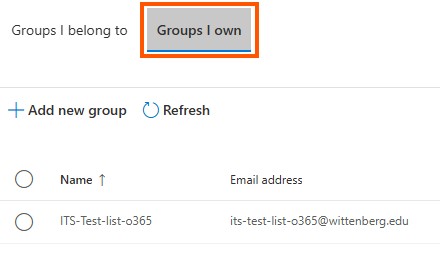
8. Select the list you want to manage. A window should open on the right side of the screen.
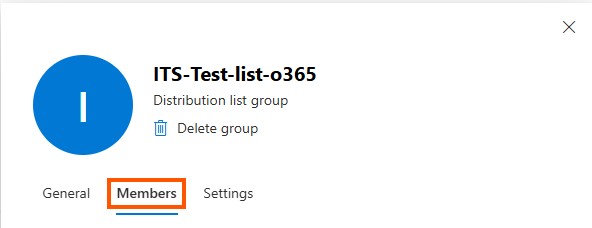
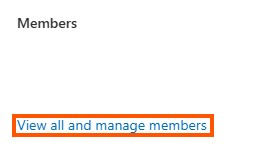
8a. Select the members option.
8b. Select View all and manage members.
NOTE:To add a member, continue to section 9. To remove a member, continue to section 10.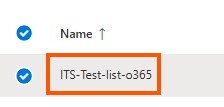
9. To Add a member click the +Add Members button at the top.
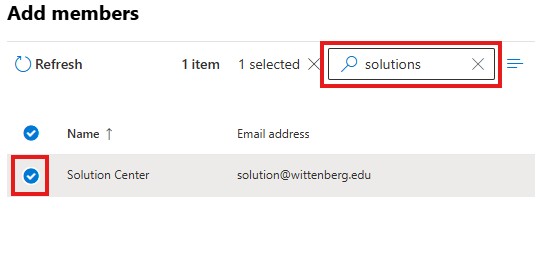
9b. Search for the user you wish to add, and click the bubble to select them (you can repeat this for as many members as you need.)
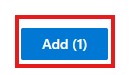
9c. When finished click Add at the bottom.
NOTE: While it looks like you can add addresses from your own address book to these lists, it will not actually work.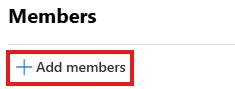
10. To Remove a member, Select the bubble of the member and click Delete. 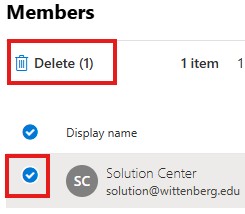
11. Changes are automatically saved after "Add" or "Delete" are used. 
- Joining a Mailing List
Please note that not all groups will allow you to join on your own. The majority of the groups are automated by other systems, or managed by the owners of those lists. So if there is a list you think you should be a part of and it will not let you join, please put in a work order requesting access via the ITS Helpdesk work order system https://helpdesk.wittenberg.edu. 1. Sign into https://portal.office.com/ 2. Click on the Apps button found on the left-hand side of the screen. 3. Click the Outlook button found under the Apps header. 4. Click the Cog Wheel in the top right corner. 5. Select the General option, then select Distribution groups 6. Click the link at the end of "To manage Distribution groups, visit this portal" 7. Under the Groups I belong to heading, click the Join button 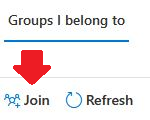
8. From the list of groups select the one you wish to join.
Please note that this will list a lot of groups, but that does not mean all of them allow you to join them.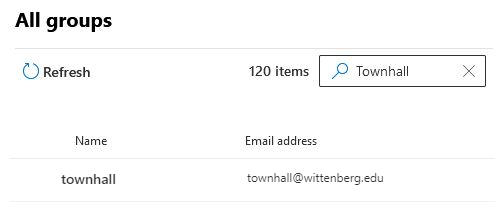
9. Click the Join group button.
Please note that even though it displays a join button, it may not be a list that allows you to join.
10. Click the confirm button.
Please note that even though it displays a confirm button, it may not be a list that allows you to join.
- If the list does not allow you to join it will show an error message
- If the list is managed by the list owner, they will get a notice of your request to join the list. Then the owners will either approve or deny your join request.
- If the list is open for people to join, you will be automatically added to the list
- Leaving a Mailing List
Please note that not all groups will allow you to leave on your own. The majority of the groups are automated by other systems, or managed by the owners of those lists. So if there is a list you think you should NOT be a part of and it will not let you leave, please put in a work order requesting your removal from the list via the ITS Helpdesk work order system https://helpdesk.wittenberg.edu. 1. Sign into https://portal.office.com/ 2. Click on the Apps button found on the left-hand side of the screen. 3. Click the Outlook button found under the Apps header. 4. Click the Cog Wheel in the top right corner. 5. Select the General option, then select Distribution groups 6. Click the link at the end of "To manage Distribution groups, visit this portal" 5. Under the Groups I belong to heading, click the List you wish to leave 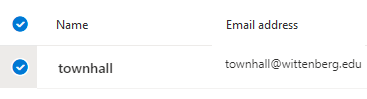
6. Click Leave group 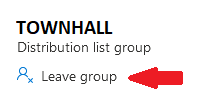
7. Click the confirm button 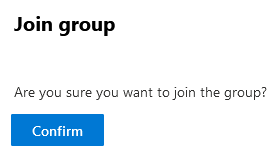
- If the list does not allow you to leave it will show an error message
- If the list is managed by the list owner, they will get a notice of your request to leave the list. Then the owners will either approve or deny your leave request.
- If the list is open for people to leave, you will be automatically removed from the list
Last reviewed 2025-10-10