OneDrive for Business can be used to deliver or accept course materials via a web interface.
Table of contents
- Quick notes about OneDrive for Business
- Setting up OneDrive for Business to deliver course materials
- Setting up OneDrive for Business to accept course materials
- How a student accesses the Course Materials
- How to use OneDrive with Moodle
Quick notes about OneDrive for Business
- OneDrive for Business is available to all current students, faculty, and staff
- OneDrive for Business has max upload limit for a single file of 15 GBs
- OneDrive for Business in the web browser can open most Microsoft Office documents with in the web browser
- OneDrive for Business should be used for storing data files, not for actual work of those data files. Download the data set, work on it, then upload the completed data back to OneDrive for Business
- OneDrive for Business is NOT the same as OneDrive (a.k.a. OneDrive for personal use)
Setting up OneDrive for Business to deliver course materials | |
| 1. Open a web browser of your choice, and navigate to https://portal.office.com | 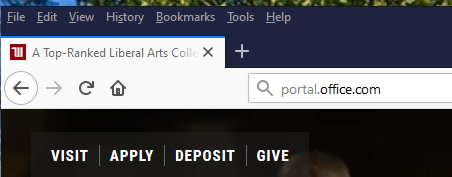 |
| 2. Sign in with your campus email address and password | 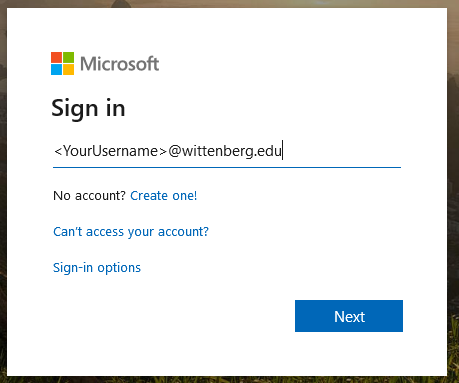 |
| 3. Click the OneDrive button, or select it from the Office 365 Apps menu | 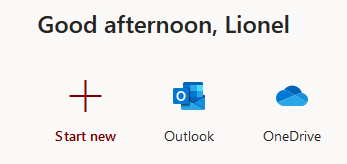 -or- 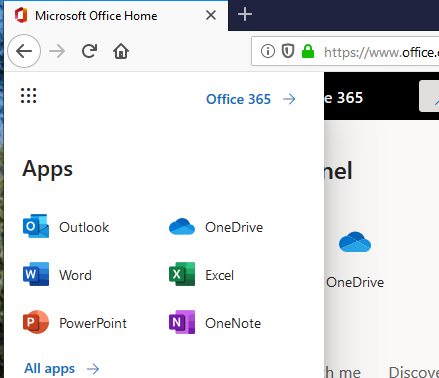 |
| 4. From the +New menu select "Folder" |  |
| 5. Enter in "CourseMaterials" for the name and click the Create button | 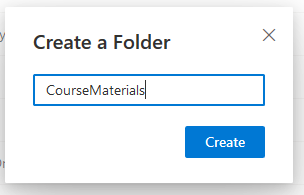 |
| 6. Click on the new CourseMaterials folder | 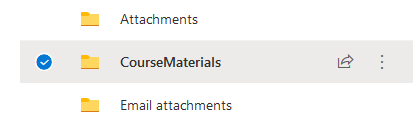 |
| 7. From the +New menu select "Folder" | 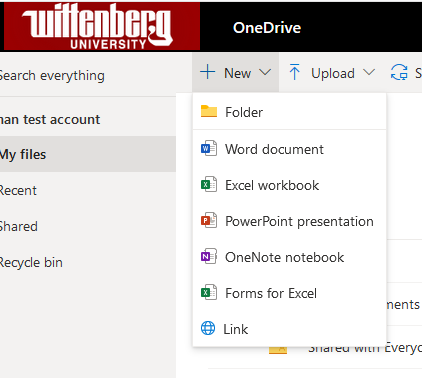 |
8. Enter in the name for the folder It is recommended that you use the Course Title exactly, so it will show up for students correctly. Students will see the folders in their "Shared with you" section based on the name of the folder created here. This way the students will see the course folder as 20SP-ITS-101-01, as opposed to "My Biology 101 course" | 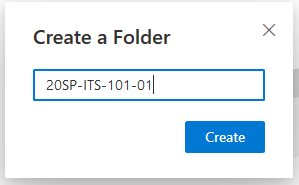 |
| 9. Move the cursor to the right of the new folder and click on the vertical ellipses to bring up the action menu | 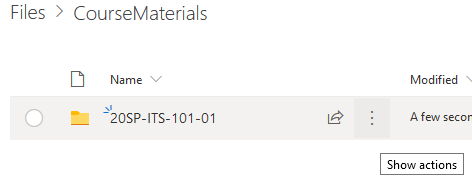 |
| 10. Select "Manage Access" | 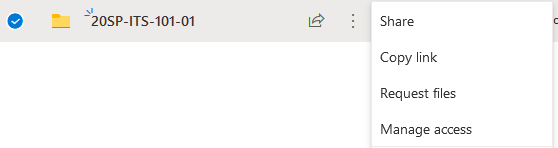 |
11. Click the Plus Sign to the right of Direct Access Do not click the Share option, as that will not allow the folder to show up for the students correctly | 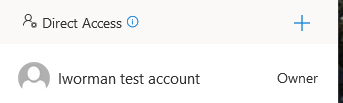 |
12. Type in the course name to add that particular course It will help by auto-completing the course name as you type | 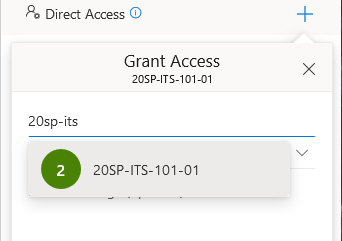 |
13. Click the "Can edit" option and change it to "Can view" In the "Setting up OneDrive to accept course materials" section we will show you how to create a folder for the students to uploade/edit materials | 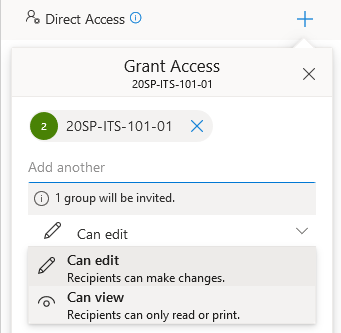 |
14. You can type in a message if you want to the members of the course, otherwise click "Grant Access" The message you type will be delivered to the course members' campus email | 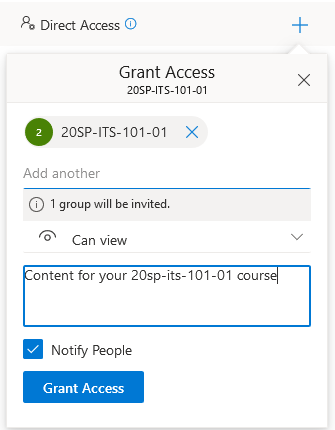 |
| 15. Click on the course folder | 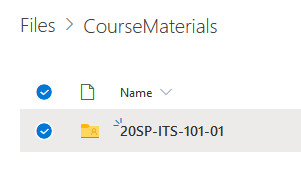 |
16. You can now drag the files to the window where it says "Drag files here" to upload the files -OR- You can use the upload link to upload files or depending on your web browser folders |  -OR- 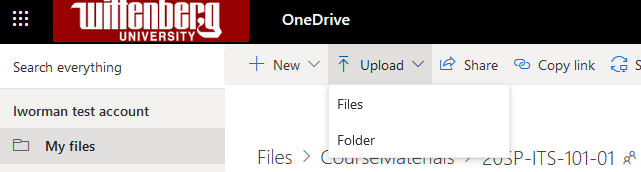 |
Setting up OneDrive for Business to Accept Course Materials | |
| 1. Make sure you have followed the steps in the previous Setting up OneDrive for Business to deliver course materials section first. | |
| 2. Navigate to the course folder you created earlier. | |
| 3. From the +New menu select "Folder" | |
| 4. Enter in the name for the folder as "StudentUploads" | 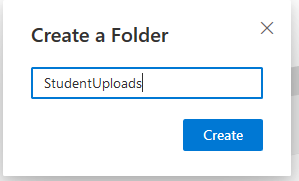 |
| 5. Move the cursor to the right of the new folder and click on the vertical ellipses to bring up the action menu | 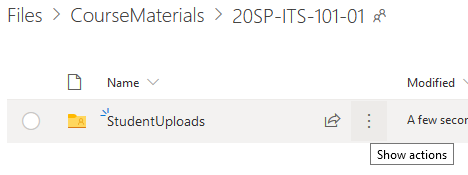 |
| 6. Select "Manage Access" | 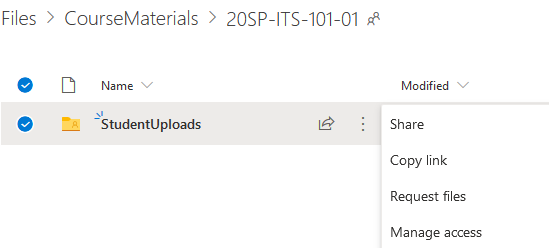 |
| 7.Click the down arrow to the right of the course list, and select "Can edit" | 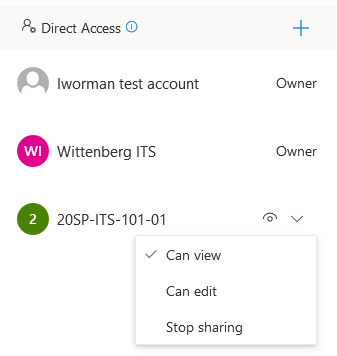 |
| 8. The icon will change from an eye, to a pencil to let you know the course members can edit the folder and items in it. | 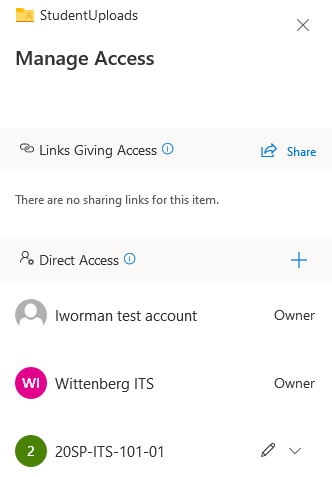 |
IMPORTANT NOTE: Course members will now be able to upload items into this folder. Course members can overwrite other members files in this folder with their own, if the file names are the same. So you will need to make sure that the students do not use the same file names when uploading their materials to this folder. Likewise anything in this new folder can be edited by any member of the course. If you wanted to you could create individual folders for each of the course members, and then use the steps above to give those students individually edit access to their own folders. If you run into trouble setting this up please let us know. | |
How a student accesses the Course Materials | |
| 1. Open a web browser of your choice, and navigate to https://portal.office.com | |
| 2. Sign in with their campus email address and password | |
| 3. Click the OneDrive button, or select it from the Office 365 Apps menu | -or- |
| 4. Click the "Shared" menu option |  |
| 5. Under the "Shared with me" heading the course folder should appear, which can be clicked on to access the contents | 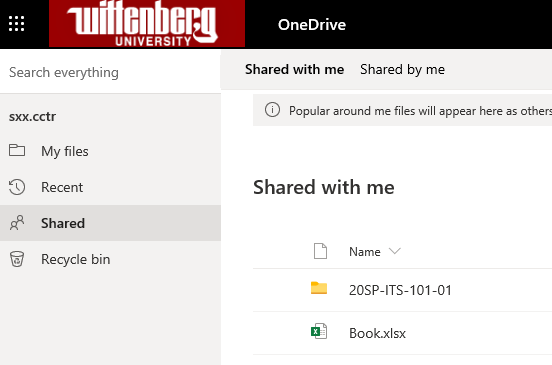 |
How to use OneDrive with Moodle
There are a lot of videos available on our Microsoft Stream service with information about how to use Moodle. You can view the collection of videos by singing in at the following link:
This document last reviewed March 16th, 2020