Microsoft Teams is a collaboration tool for use by departments, classes, and campus organizations.
Installing Microsoft Teams on a Personal System
Campus Workstations and Notebooks will have Teams installed and updated by the ITS department.
- Installing Microsoft Teams on a Personal Windows Desktop
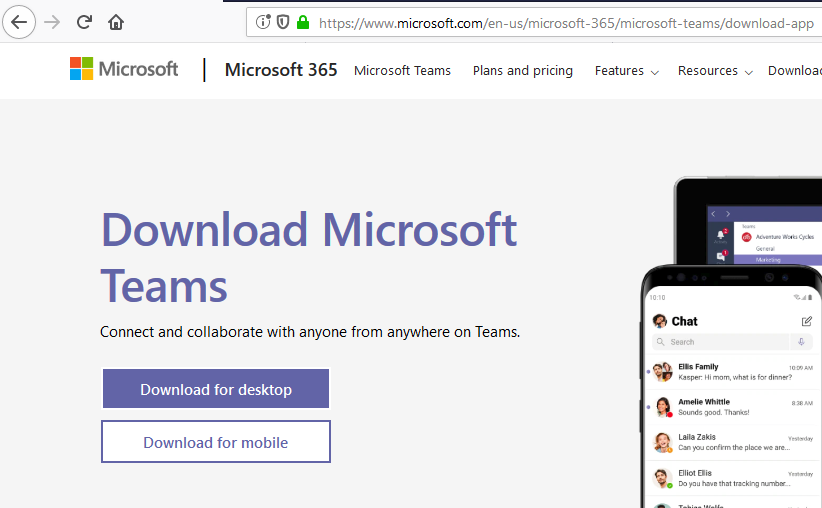
(NOTE: These instructions are for a personal system. Campus Systems will have the software installed automatically) 1. Open a web browser and go to
https://www.microsoft.com/en-us/microsoft-365/microsoft-teams/download-appIf you see he click the "Download for Desktop" button", click on that
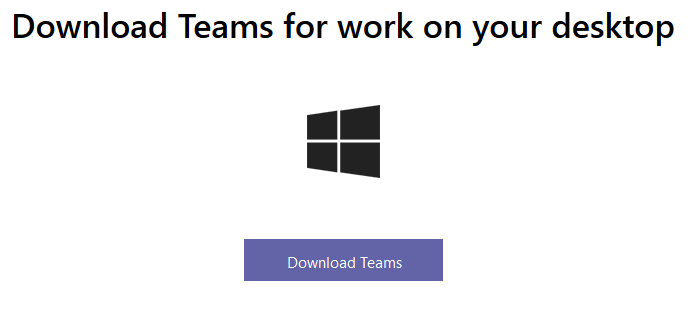
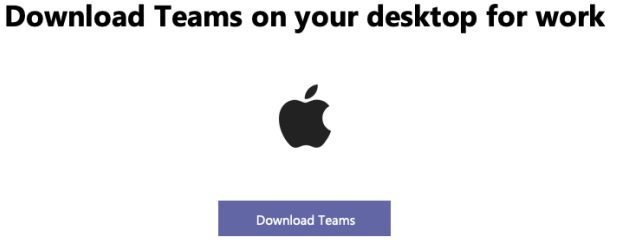
2. Click the “Download Teams” button under the heading “Download Teams for work on your desktop”
You do not need to use the send email option as that is for a mobile device only.
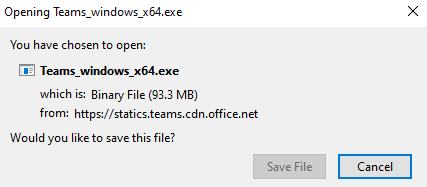
3. Depending on your web browser you may be asked to save the file. Go ahead and save the file to your downloads folder.
The file name will vary depending on your system.
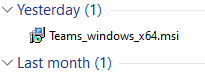
4. Once it has finished downloading, open your downloads folder and double-click on the installer.
If you are asked to allow the application to make changes to your system, select Yes
5. Once it has finished installing, it will ask you to sign into teams. Use your campus email address and password. 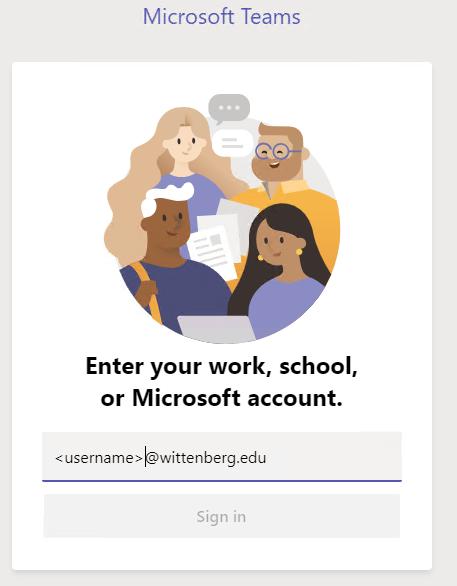
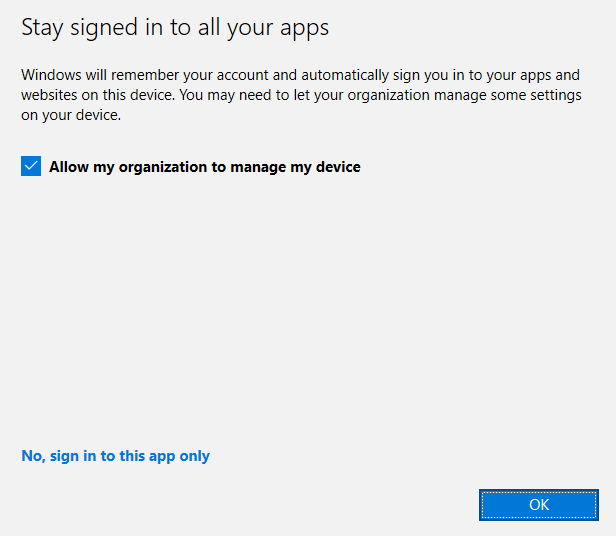
6. If asked “Stay signed in to all your apps”
- Leave the Check in the box labeled "Allow my organization to manage my device"
- Click the "No, sign in to this app only" link at the bottom left
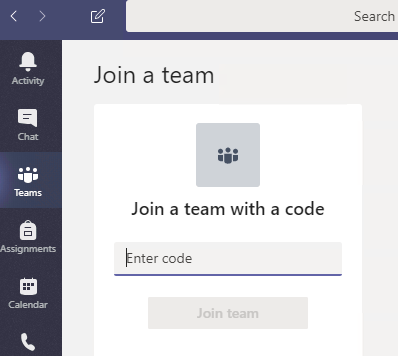
7. You will then be signed in to Microsoft Teams.
Disregard the "Join a team with a code" option at this time.
For now you can close the Teams application, and wait for the link for the Teams Meeting or Teams Live Event.
- Installing Microsoft Teams on Personal Macintosh Desktop
1. Open the safari web browser and go to
https://www.microsoft.com/en-us/microsoft-365/microsoft-teams/download-appIf you see he click the "Download for Desktop" button", click on that
2. Click the “Download Teams” button under the heading “Download Teams for work on your desktop”
You do not need to use the send email option as that is for a mobile device only.
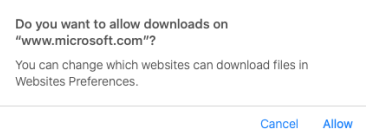
3. If asked to allow downloads on www.microsoft.com, click Allow
4. Then click the "Download Teams" button again
5. Click the downloads menu option and click on the "Teams_osx.pkg" file 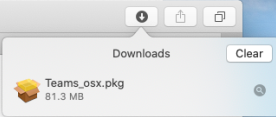
6. Click Continue to start the installation 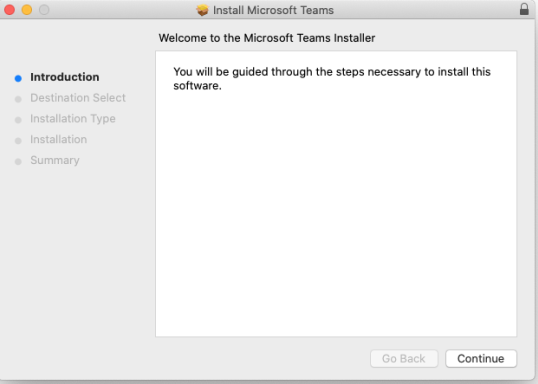
7. Select "Install for all users of this computer" and click Continue 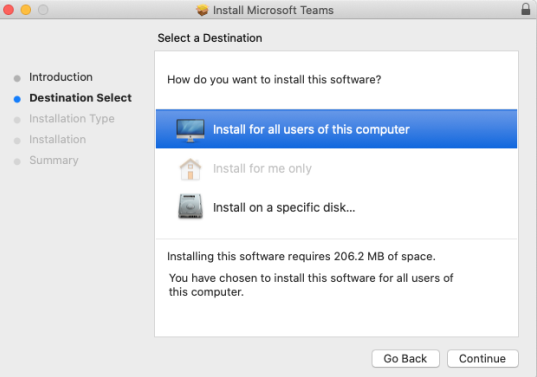
8. click Install 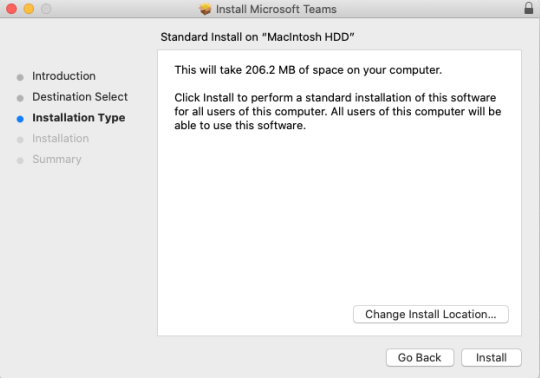
9. If prompted enter in the credentials for your account or an administrator account to the Macintosh 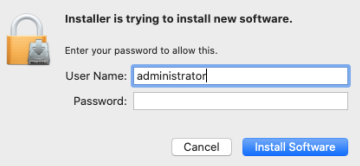
10. Click Close when the installation is finished 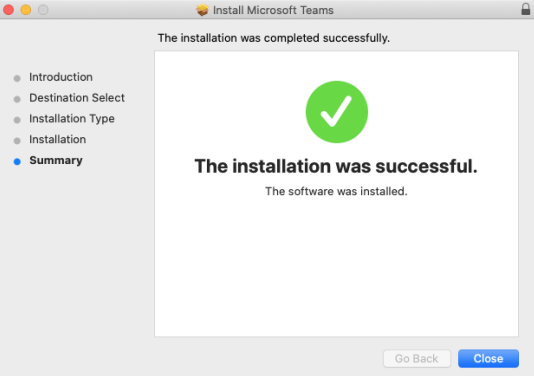
11. If asked what to do with the installer, click Move to Trash 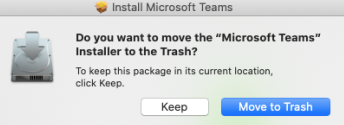
12. Go to the Applications folder and click on Microsoft Teams 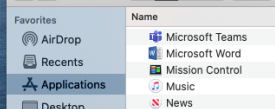
13. Teams will ask you to sign into teams. Use your campus email address and password. 14. You will then be signed in to Microsoft Teams.
Disregard the "Join a team with a code" option at this time.
For now you can close the Teams application, and wait for the link for the Teams Meeting or Teams Live Event.
- Additional steps for some Macintosh systems
You may have to follow these additional steps to allow Teams to access the camera and desktop. 1. Open the System Preferences 
2. Open the Security & Privacy option 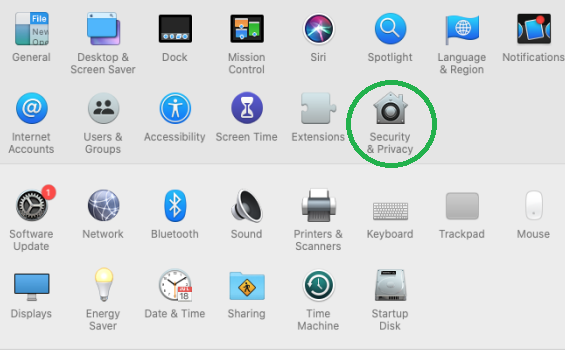
3. Select the Privacy tab 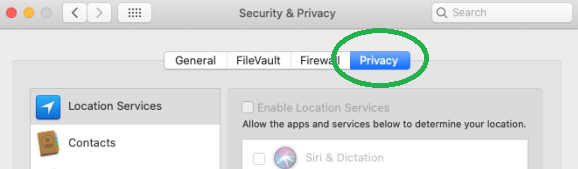
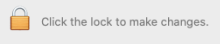
4. Click on the Lock icon, to unlock the settings
Enter the appropriate credentials if prompted for them
5. Click on the Camera option and check the box for Microsoft Teams 
6. Click on the Microphone option and check the box for Microsoft Teams 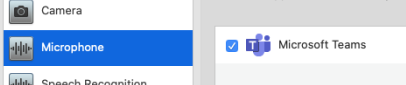
7. Click on the Accessibility option and check the box for Microsoft Teams 
8. Click on the Screen Recording option and check the box for Microsoft Teams 
9. Close the Security & Privacy window and restart the Teams Client - Installing Microsoft Teams on Mobile Device
On your Mobile device go to the following web page
https://www.microsoft.com/en-us/microsoft-teams/download-app
and follow the instructions
Microsoft Teams Meetings
- Joining a Microsoft Teams Meeting through Microsoft Teams
First make sure you have the Microsoft Teams application downloaded and installed on your system:
For campus systems Microsoft Teams is automatically installed.1. Open the Microsoft Teams Application 
2. Select the Calendar button 
3. Click the Join button on the Meeting 
4. The Join Team Meeting page will open, so you can click the "Join now" button 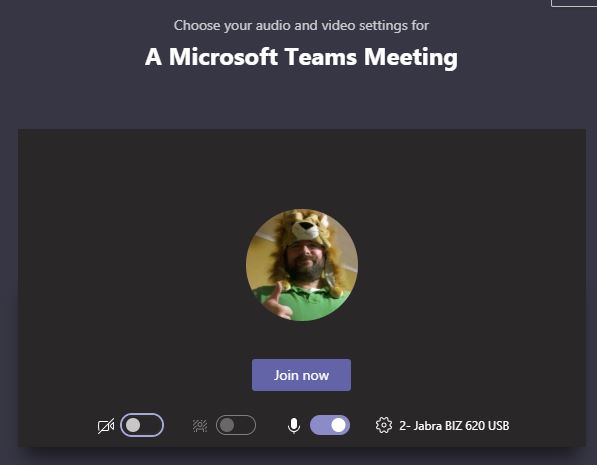
- Joining a Microsoft Teams Meeting through Web Browser
Be aware that you will have limited options in the Team meeting if you join via a Web Browser. It is recommended that you join with the Team Client. 1. Launch your web browser, preferably one of the following:
- Microsoft Edge
- Firefox
- Chrome
- Safari


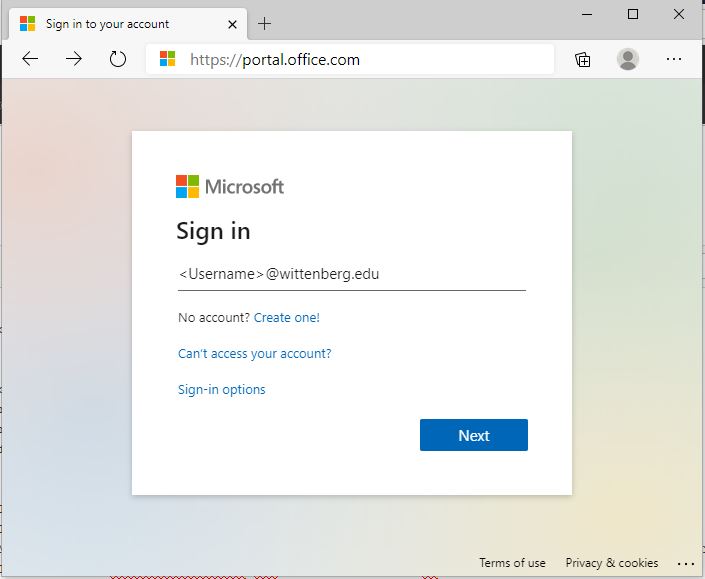
2. Navigate to https://portal.office.com
and sign in using your campus email address and password.
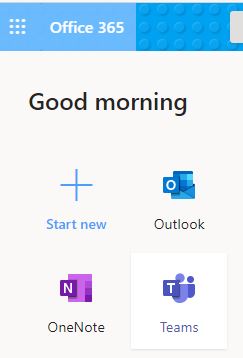
3. Click on the Teams icon
If you do not see the Teams icon, click the "-> All apps" icon, and then select the Teams Icon from there
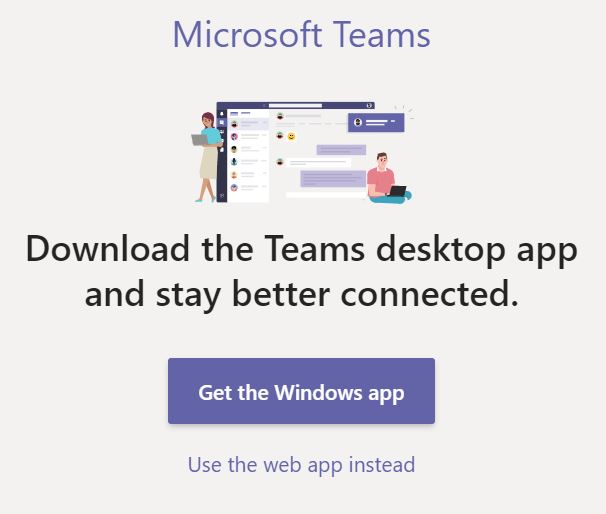
4. You may then be asked if you want to download the Teams application, just click the link "Use the web app instead"
You can use this to install the Teams app if you want.
5. Select the Calendar button 6. Click the Join button on the Meeting 7. The Join Team Meeting page will open, so you can click the "Join now" button - Schedule a Microsoft Teams Meeting
If you are scheduling a meeting for a course, please refer to the section under Teams Sites on how to schedule a Teams Meeting for a course.
First make sure you have the Microsoft Teams application downloaded and installed on your system.
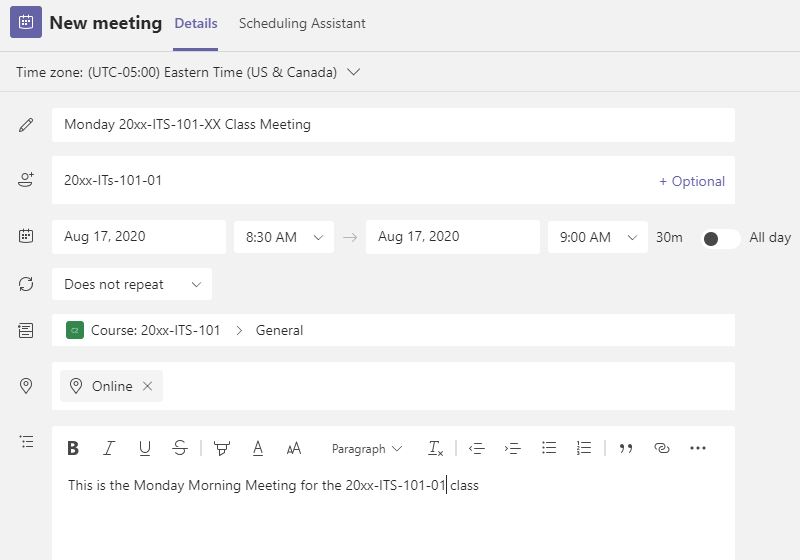
For campus systems Microsoft Teams is automatically installed.1. Open the Microsoft Teams Application 2. Select the Calendar button 3. Click the "New meeting" button 
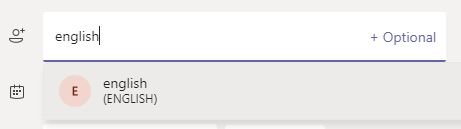
4. Enter a title for the Team Meeting 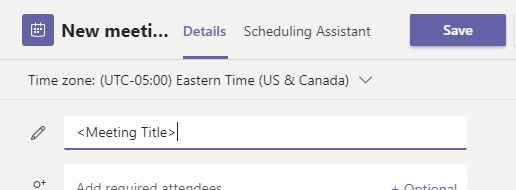
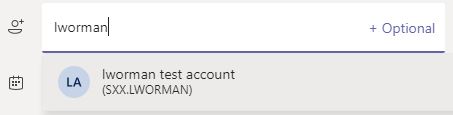
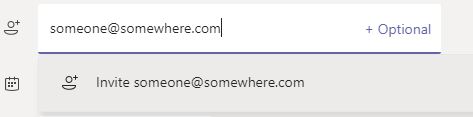
5. Add the attendees for the meeting. You can individual campus users, campus groups, or off campus users as well.
Note that you can add a specific channel to the meeting, as shown in step 7, instead of adding individual members.
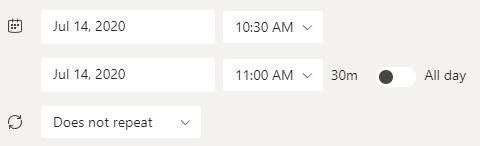
6. Enter the date and times for the meeting
Note: if this is a reoccurring meeting you can set it to repeat.
7. This is optional, but if you want this meeting to be for everyone in a specific team site you can select the Add Channel option, then select the appropriate team site, and then select the General channel. This will have it appear for everyone in the channel as opposed to having to add them individually or by group, in the attendees section. 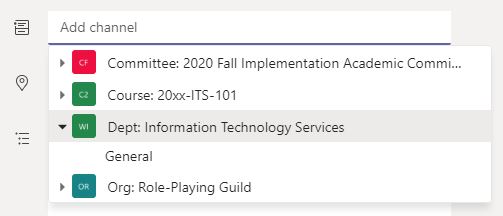
8. For location you can leave it blank, since it will be online, or you can enter in a value. Just be aware that there are no prefilled values, so you will have to select the option 'Use " " as location' 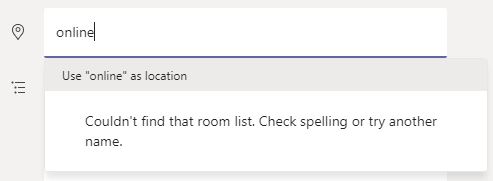
9. For the details section fill out as much information as you desire 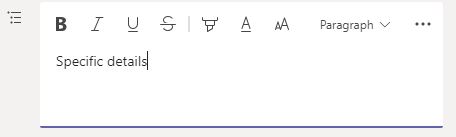
10. Finally click the Save button 
The meeting should now show up on your calendar, as well as those you invited to the meeting.
Note that by default anyone you invited to the meeting will join the meeting as an attendee, which means they will not be able to present anything until you make them a presenter. The Section Changing Meeting Presenters will show you how to set up the other attendees as presenters.

- Setup Alternate Presenters ahead of time
By default anyone you invite to the meeting joins the meeting as an attendee, which means they cannot present anything until you make them a presenter. Here we will show you how to setup people you invite to the meeting as presenters as part of the invite. Go to your Calendar, and double-click on the Meeting to open the meeting. Click on the Meetings Options button
If you are using the Teams Client or Microsoft Outlook, you will be prompted to log into the Microsoft Portal to access the Meeting Options.

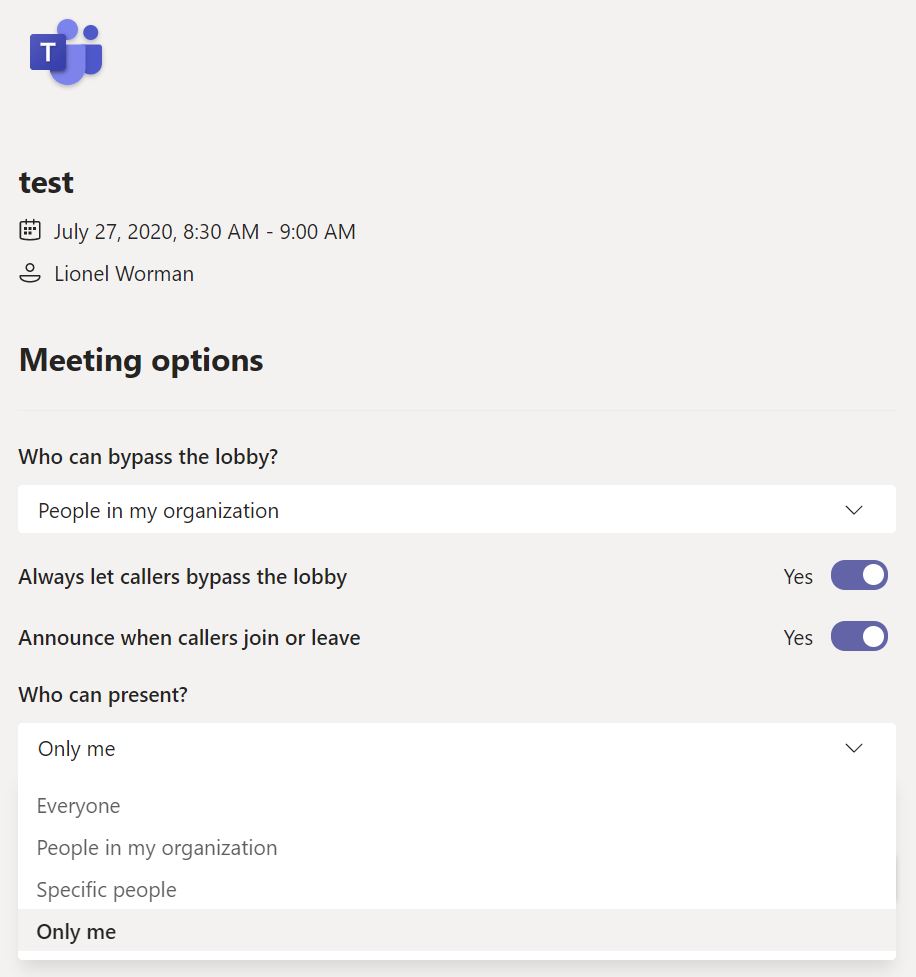
At the bottom will be an pull down menu labeled "Who can present?" with several options:
- Everyone: This means that anyone who joins the meeting is automatically a presenter
- People in my organization: This means anyone who joins with their Wittenberg account will be a presenter, but anyone from off-campus will not be a presenter
- Specific People: This allows you to select certain people who you invited to the meeting to be presenters once they join. Be aware they have to be specifically invited to the meeting to be made a presenter
NOTE: you will not be able to setup an off-campus person as a presenter through this means. - Only Me: this is the default option, and means only the Meeting Organizer will be the presenter for the meeting
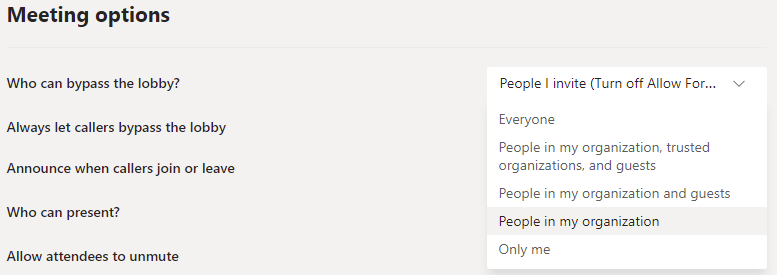
NOTE: (2021-04-20)
Check the "Who can bypass the lobby?" setting, as it might be set incorrectly to "People I invite (Turn off Allow For...".
If it is set to this it will not let you save the changes. You will need to change this option, by clicking on it, to "People in my Organization".
Once you have made your changes, click the save button, and the meeting will be updated. 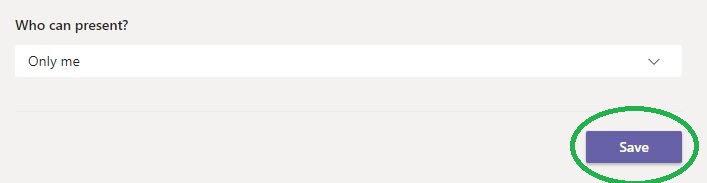
- Changing Meeting Presenters during a meeting
You can make a person a presenter during the meeting, by clicking on the ellipses "..." next to their name and selecting "Make Presenter". You will be prompted with a note about the change in access, click Change. 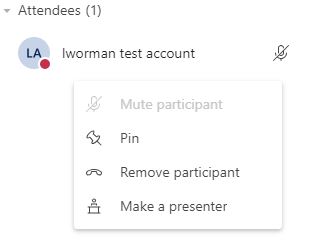
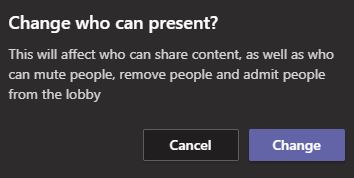
You can make them an attendee again, by clicking on the ellipses "..." next to their name and selecting "Make Attendee". You will be prompted with a note about the change in access, click Change. 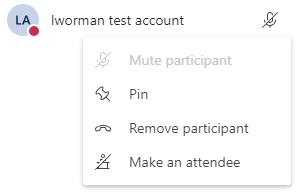
- Microsoft Teams Meeting: turning on or off web camera, microphone, participant list, raising hand, and chat
Once in a Teams Meeting, you should see a bar of icons within the Teams Meeting window, near the top-right of the client 
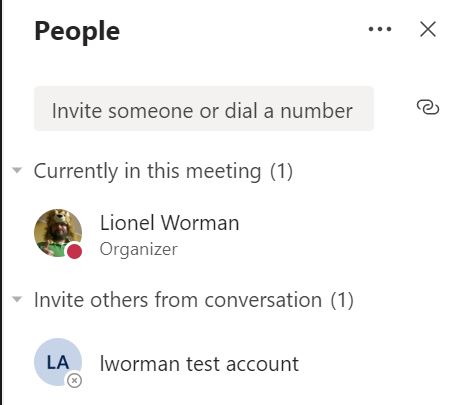
To view the list of participants, click the participants icon.
Team Meeting Organizers will have the following additional options, when they select the ellipse "..." next to the participant:
- Mute
- Remove Participant
- Lower Hand if they have raised their hand
- Make an Attendee a Presenter, or make a Presenter an Attendee

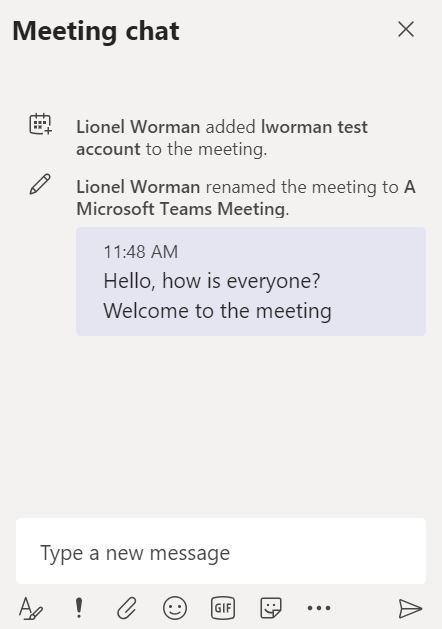
To participate in the chat, click the chat icon.
Then in the text box type in your message.
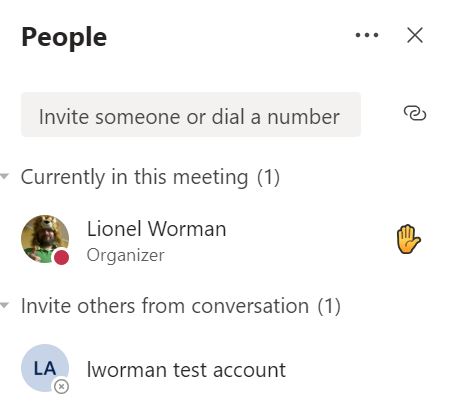
To raise your hand in the Participants view, click the hand icon.
To lower you hand just click the hand icon again.
Whoever their hand first will be at the top of the list.
Team Meeting Organizers can also right-click on the Participant and select lower hand, to lower their hand for them.

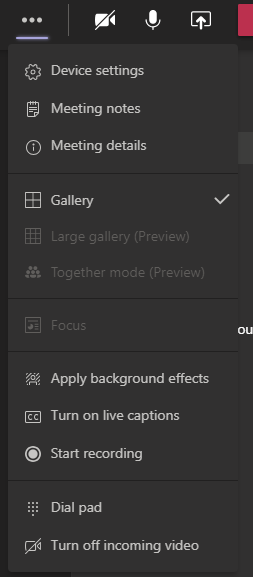
To see more advanced options click the More icon.
More Options: Recording, and changing Camera and Audio settings
To turn off or on the your Web Camera, click the Camera icon
Note: if you have more than one camera setup on the system you will see a little switch camera icon, that you can click on to switch between cameras.

To turn off or on the your microphone, click the microphone icon 
To share something, click the share icon.
Sharing items: Desktop, Programs, and the Whiteboard
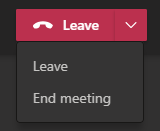
To leave the meeting, click the Leave icon
If you are the organizer of the meeting, or a presenter you will have the option to just Leave the meeting, or End the meeting. If you select "End Meeting" it will kick everyone out of the meeting and end it.
- Sharing Content: Desktop, Programs, and PowerPoint
Click on the Sharing icon, to start sharing 
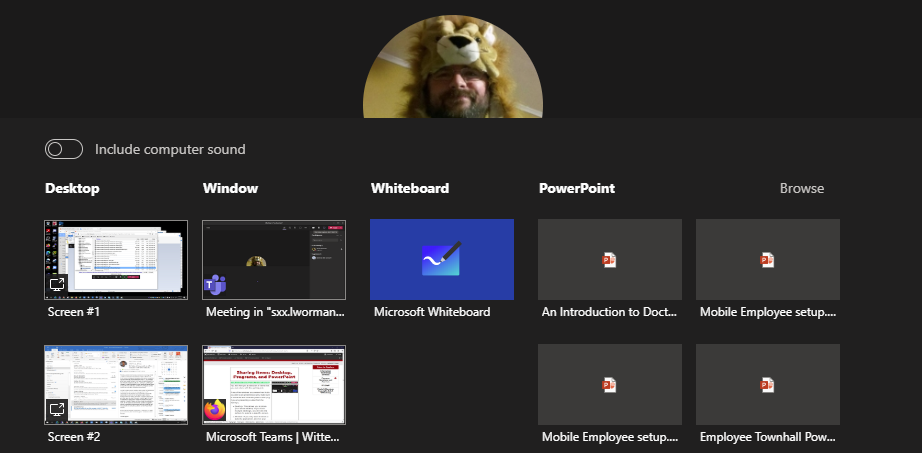
You will then get a selection of items that you can share with the participants
If any of the windows you present has Audio you wish to be presented as well, make sure to check the box "Include system audio" (e.g. if you are presenting a video from the desktop).
- Desktop: This allows you to share your whole desktop. If you have multiple desktops, you will see the options to selecte a specific screen.
- Window: If you only want to share a specific application, and not your whole desktop you can share that specific window only, from the list of windows.
- PowerPoint: If you have a PowerPoint presentation shared, you can select that PowerPoint specifically. This can include any PowerPoint presentations you have shared or shared with you in Microsoft OneDrive, as well as those that you have attached to the current meeting.
- The Browse option lets you browse for another PowerPoint that you may want to present. NOTE This only allows for uploading PowerPoint presentations.
- Whiteboard: This presents a Whiteboard to the participants. More information on this feature can be found in the next section Sharing: Whiteboard
- Sharing Content: PowerPoint Presenter View
Coming Soon
- Sharing Content: Sharing online videos through PowerPoint
Coming Soon
- Sharing Content: Whiteboard
Click on the Sharing icon, to start sharing Click on the Whiteboard option to start the Whiteboard 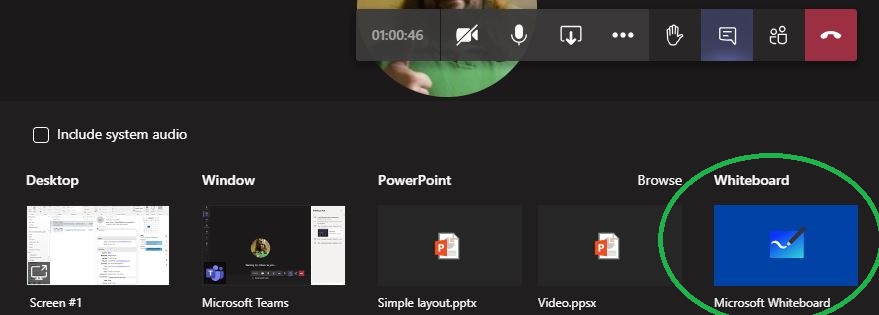
Selecting the Whiteboard option, it will ask you if you want to open the Whiteboard desktop app. Click the "Use Whiteboard in Teams instead" link. This is because in order for it to work effectivly it requires all participants to use the desktop app. 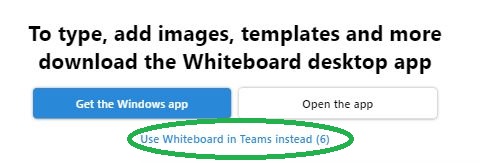
Once the whiteboard has started up you can start drawing. You can use the tool options to change pen colors and other options. 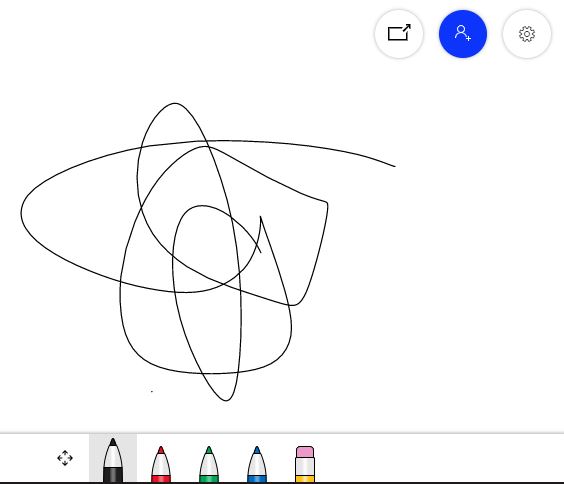
You can also change it so that only the presenter can draw, by clicking on the "Cog" icon, to bring up the Settings menu. 
You can then change the "Other participants can edit" option to off. 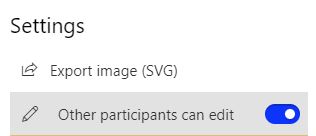
Also in the Settings menu is an option to export the drawing to an SVG file When you are done with the presenting the whiteboard, you can click the "Stop Presenting" button 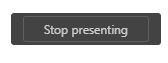
If you want to go back to the Whiteboard, just repeat the steps to share it. NOTE: The whiteboards from all your team meetings can be found by logging into https://portal.office.com and selecting Whiteboard. If you do not see the Whiteboard option select "-> All Apps" and then select the Whiteboard option. 
- More Options: Changing the Audio & Video devices and recording the Meeting
Click on the More icon, to bring up the More menu There are several options in the More menu 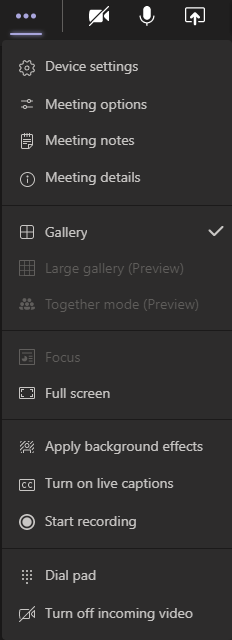
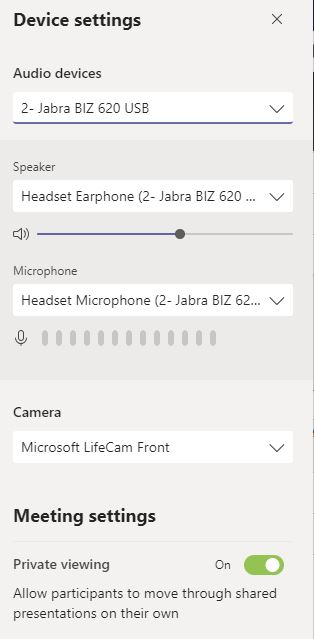
Show device settings:
This is where you can change the what device is being used for the Microphone, Speaker, and Camera.
The Private Viewing setting being set to ON allows meeting participants to move through any shared documents on their own, without having to wait for the presenter to advance to the next slide or page.
The Private Viewing setting being set to OFF means meeting participants have to wait for documents to be presented, and the presenter has to advanced through the documents for the participants.

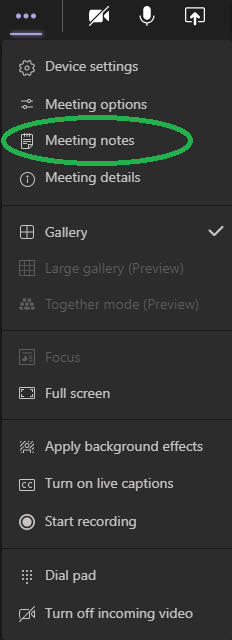
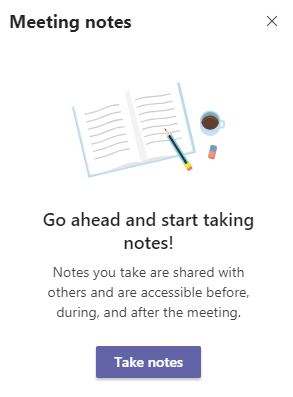
Show meeting notes:
This is where you can write out notes for the meetings. This is a Wiki style note taking application, and is modifiable by any participants. The notes are stored with the Meeting.
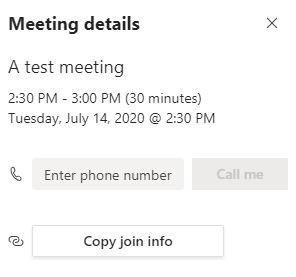
Show meeting details:
This display basic information about the meeting.
Note:The "Copy join info" button is disabled. This prevents participants sending the join link to anyone outside of the meeting that was already invited to attend.

Enter full screen:
This changes the Team Meetings window to take up the whole window
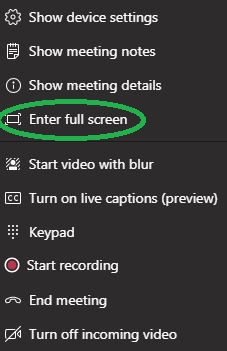
Start video with blur:
This option is only available depending on the web camera.
This starts your webcamera with the background blurred

Turn on live captions (preview):
This provides a live AI generated captions for the meeting. This is not 100%, but can be useful.

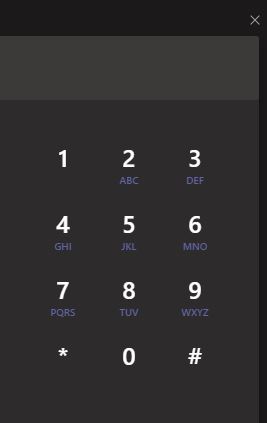
Keypad:
This provides a number pad, which at this time is not functional.

Start recording:
This starts recording the meeting.
Please refer to this section about recordings: Recording a meeting
End Meeting:
This option ends the meeting for all participants.
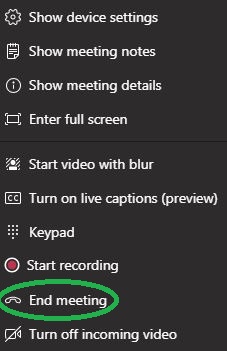
Turn off incoming video:
This option allows you to turn off the incoming video feeds for the other participants. This can be very helpful to reduce the bandwidth requirements of joining the meeting.
NOTE: This does not stop presented items, such as PowerPoints or screens.

- Restrictions/Limitations of Recording Team Meetings
Restrictions/Limitations of Recording Team Meetings - Only Presenters can start a recording of a Team Meeting
- Only one recording of the meeting can take place. So if the Team Organizer started recording the team meeting, the other presenters are locked out of starting a recording.
- If you start a meeting from with in Chat Session, all the people in that chat session will be added to the meeting as a Presenter
- In a Public Channel, the person who first clicks the Meet Now button is the Meeting Presenter, while those that join in afterwards are just attendees
- You cannot record a meeting that was started within a Private Channel.
- The Recording will not capture the Chat, Notes, or whiteboard, since those are stored already as part of the meeting.
- FERPA Guidelines for Class Session Recordings: Recordings made of class sessions can only be made available to the faculty teaching that specific class and those enrolled in that class only!
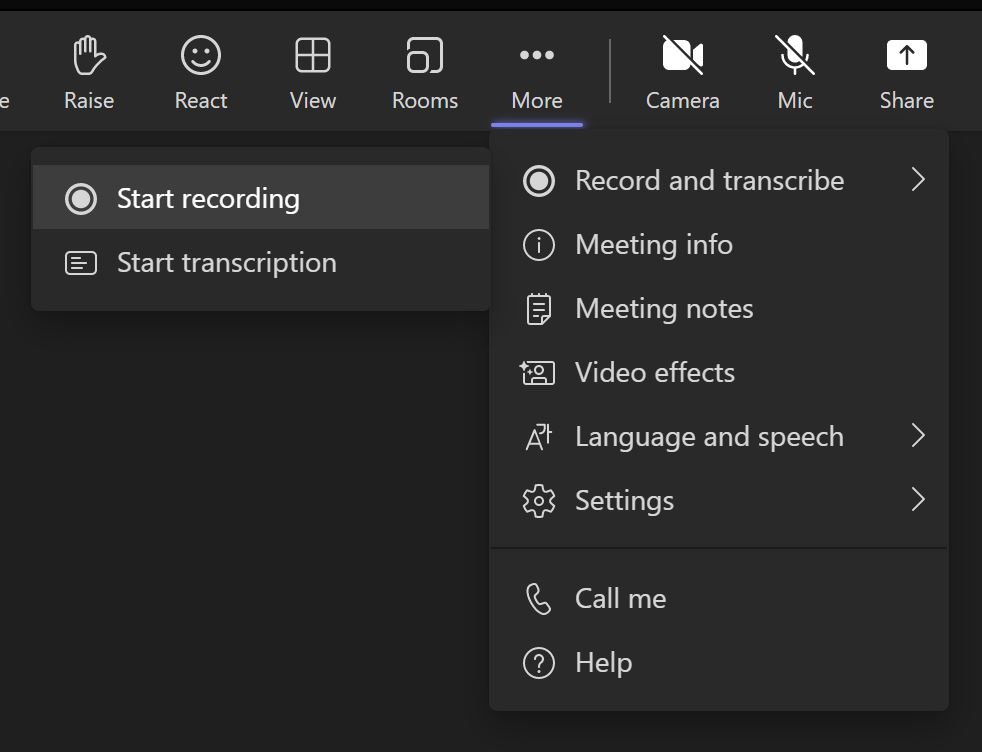
Click on the More icon, to bring up the More menu Select the "Record and transcribe" then "Start recording" Next to the timer, a red-circle will appear, along with a notice once the recording has started. 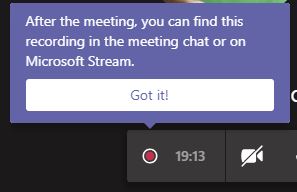
At the same time a notice will appear to all participants to let them know the meeting is being recorded

To finish the recording, click the More menu option, and then select Stop recording. 
You will be asked if you really want to stop the recording 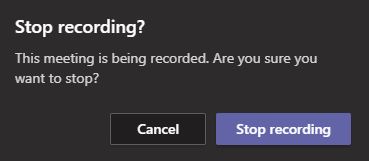
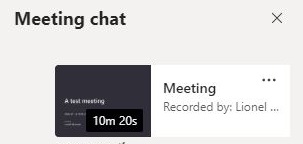
It will then let you know that the recoding can be found in Microsoft Streams, or the Chat window for the meeting, once it has been processed. 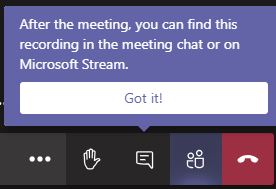
After the system processes the recording, you will get an email to let you know the video is available.

After the system processes the recording, you can find it in the Chat window for the meeting.
NOTE: That Streams videos are restricted to those who attended the meeting, not those that were invited. So if you invited someone and they did not attend, you will have to add that person to the permissions for the video in streams.
For more information about Streams including how to update permissions on videos, Click Here
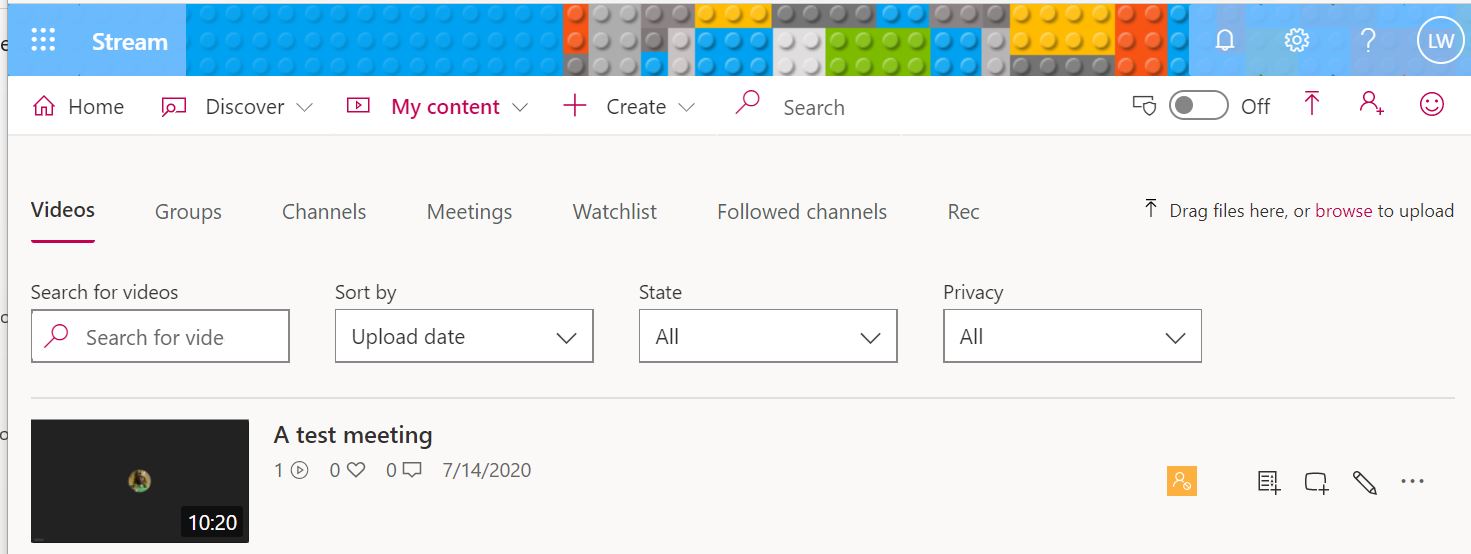
You will also be able to find it your list of Microsoft Streams Videos.
NOTE: That Streams videos are restricted to those who attended the meeting, not those that were invited. So if you invited someone and they did not attend, you will have to add that person to the permissions for the video in streams.
For more information about Streams including how to update permissions on videos, Click Here
- Breakout rooms
Here is a helpful link with more information regarding Breakout rooms from Microsoft
https://support.microsoft.com/en-au/office/use-breakout-rooms-in-microsoft-teams-meetings-7de1f48a-da07-466c-a5ab-4ebace28e461
Microsoft Teams Sites
- Activating a Team Site for a Course
Microsoft has a specific type of Team Site for courses, the biggest difference is that these team sites are not visible to students, until the professor clicks the activate button for the team site. 
- Scheduling a Meeting for a Team Site (e.g. a Course)
Microsoft Teams allows you to schedule meetings with in the Team site, in a manner that announces the meeting to the members of the Team site easily. Plus the team meeting is persistent within the Team Site so you don't have to worry about people getting lost trying to find the invite, they can just go to the channel and see the scheduled meeting listed there. Open the Microsoft Teams client, and go to the General channel of your team site. 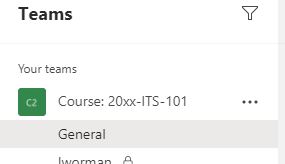
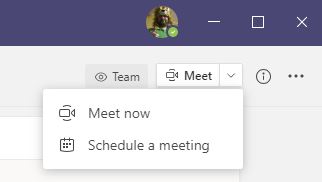
At the top right-click the down-arrow next to the Meet option and select "Schedule a meeting"
You may have to stretch the Team client window a bit to see the pull down menu.
Enter in the title for the meeting
In the Attendees section add the mailing for the course, or if you are doing this for a department, the departmental maling list.
Fill out the time as appropriate
Note the next section will automatically be filled out with the appropriate team site information
You can set the location to Online or whatever you think is appropriate
Then enter in a description for the meeting
When finished click the send button near the top right-click 
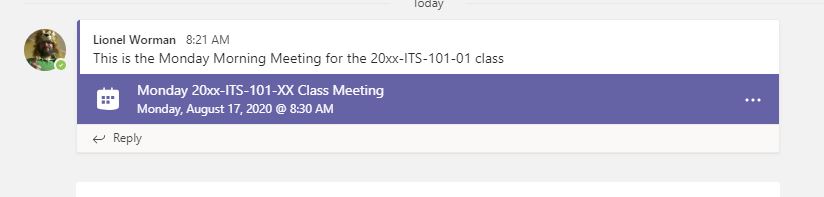
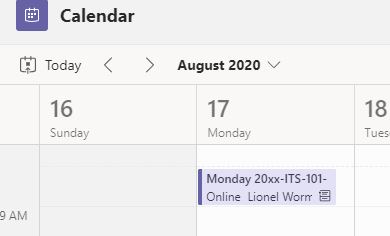
The Scheduled meeting will now show up in the General Channel for the Team Site
Add if you added the course mailing list to the attendees list it will show up in the calendar of the attendees as well
- Putting a link in Moodle for the Team Site
Putting a link in Moodle for the Team Site
1. Open the Microsoft Teams client 2. Select the General Channel of the appropriate Team Site 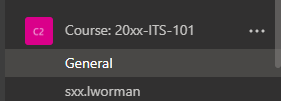
3. Click the ellipses neat the top-right of the client, and select Get link to Channel 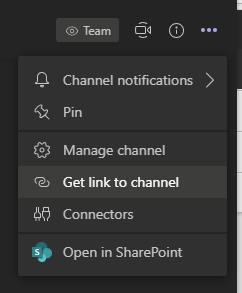
4. Copy the whole URL presented 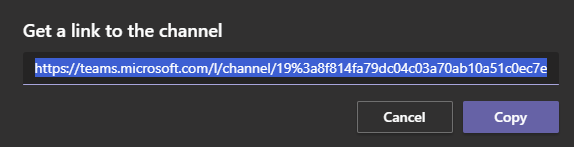
5. Go to your site in Moodle, and add a URL activity 
6. Give it an appropriate name
Paste the URL you copied earlier into the External URL heading
and then fill out the description
Click the Save and display option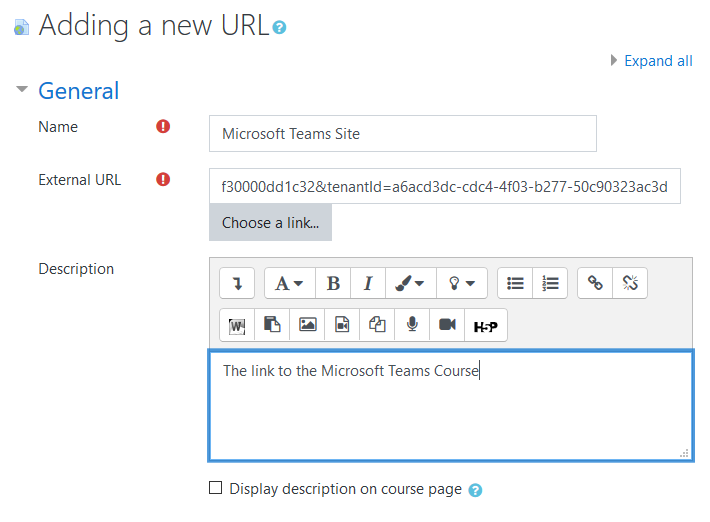
- Chat
The Chat feature allows you to have a conversation with another campus member or members, whether you are a member of a Team Site or not.
Also your chats are persistent, so that you can always go back and refer to them, or continue them later.

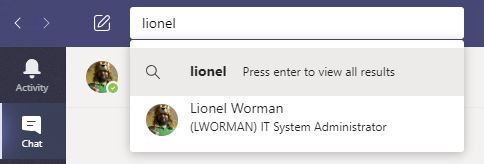
To start a chat with another member of campus, start typing their name in the search box, and then click on the name of the person you wish to start a chat with. 
You can then type messages to the other person by using the message box at the bottom, once you have typed your message just press enter or click the send message icon.
Members of a chat session can delete or edit their own chat messages, but they cannot edit or delete the messages of others in the chat.


The Format button lets you change the formatting of the message 
The Delivery button lets you set a message as important or even urgent 
The Attachment button lets you attach a file to the message 
The Emoji button lets you add an emoji to the message 
The GIF button lets you add a GIF to the message 
The Sticker button lets you add a sticker to the message 
The Schedule button lets you schedule a meeting with the participants in the chat 
The Stream button lets you add a link to a video in Microsoft Streams 
The Praise button lets you add a praise option to the message 
The More button lets you add more features to the chat session 
You also have the option to turn the chat session into a Virtual Meeting, by simply using the Meet Now button. This creates a Teams Meeting on the fly with all the participants in the chat.
Since this starts a Team Meeting, you can refer to Recording a meeting for more information on how to record the session.

If you would prefer to just do a voice chat, you can use the Audio Call button instead. This will start a voice only Teams Meeting, with all the participants in the chat. 
If you want to share your desktop or an application, you can use the Share button to share your desktop or other items as if you were in a Teams Meeting, use the Share button. For more information about sharing you can use these links:
Since this starts a Team Meeting, you can refer to Recording a meeting for more information on how to record the session.

If you want to add someone to the Chat sessions, you can click the Add Participant button. The added person will be added to the current chat session, and be able to see all the previous chat messages and attached files as well. 
- The General Channel
Microsoft Teams Sites: The General Channel
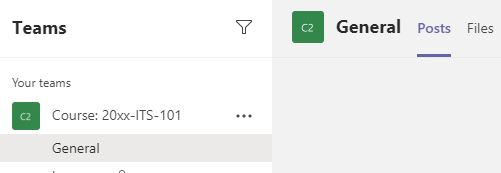
All Team Sites will have a General channel, which is accessible by all members of the Team Site. It is a place where all members of the Team Site can chat and discuss as well as share files, as well as other items.
The General channel has at least two features
More Features can be added as well to the General Channel, such as a tab that can take a user to a Moodle Course Page
A Team owner can create more channels within the Team Site.
- Creating a Public Channel (Team Site Owners only)
- Creating a Private Channel (Team Site Owners only)
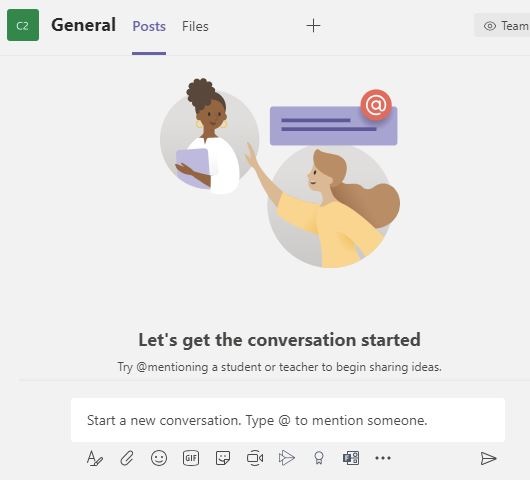
- Channel Posts
The Posts tab in a Teams Site Channel is a place for all members of the Team Sites to post messages, or reply to previous posts.
Team Members can delete or edit their own posts, while Team Owners can delete the posts of other members.
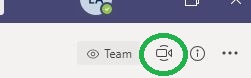
The Posts feature works similar to the Chat feature, but in this case the Meet Now button is a button is found near the top right of the Teams Application. This lets members start a meeting, that everyone in the team can join without having to schedule it.
Since this starts a Team Meeting, you can refer to Recording a meeting for more information on how to record the session if you are the one who initiated the meeting as the presenter.
- Channel Files
Microsoft Teams Sites: Features, Files
The Files tab is a place for all members of the Team Sites to upload various files for the whole team to work with or access.
Be careful as any team member can replace or delete any document in a files tab.
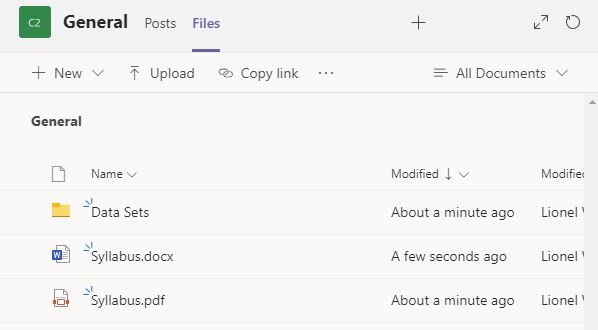
You can upload a file by using the Upload link 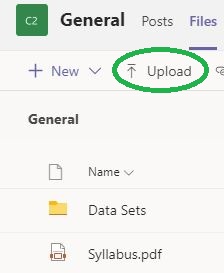
By clicking the New menu, you can even create new folders, to further help organize the documents. You can also create some basic Microsoft Office documents with in the Files tab as well. Once you have created them you can even update them through the Teams client as well. 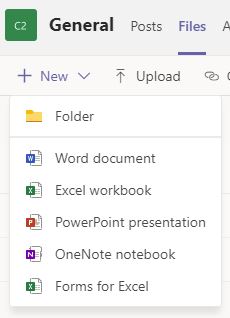
- Setting up Email Notifications from Teams
Microsoft Teams Sites: Setting up Email Notifications from Teams
Open the Microsoft Teams Desktop Client, or sign in through the web page version 
Click the Ellipses menu to the left of your initials or profile picture, near the top-right, and select settings 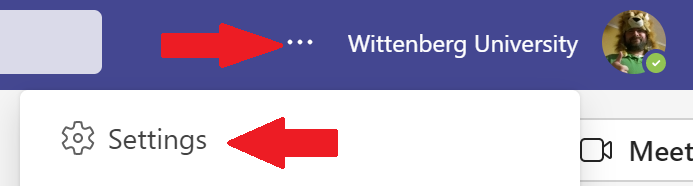
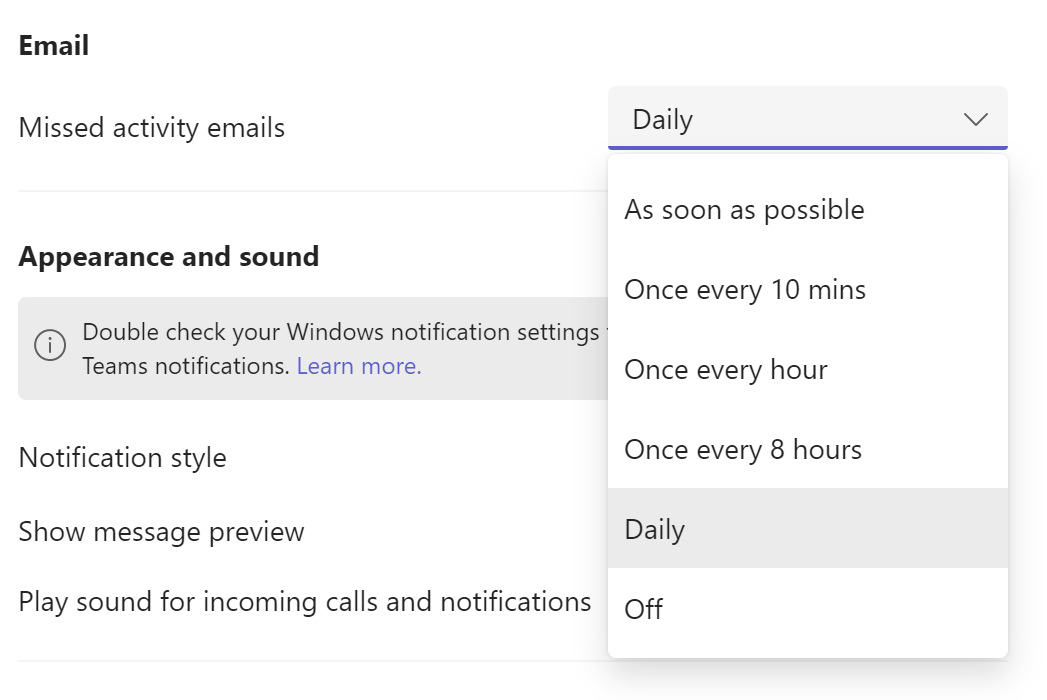
Select the Notifications option 
Change the "Missed activity emails" option to Daily.
Note if you set it to Off you will not get any email notifications, so you want to set it to at least Daily, to get a daily digest. You can set it more frequent if you desire.
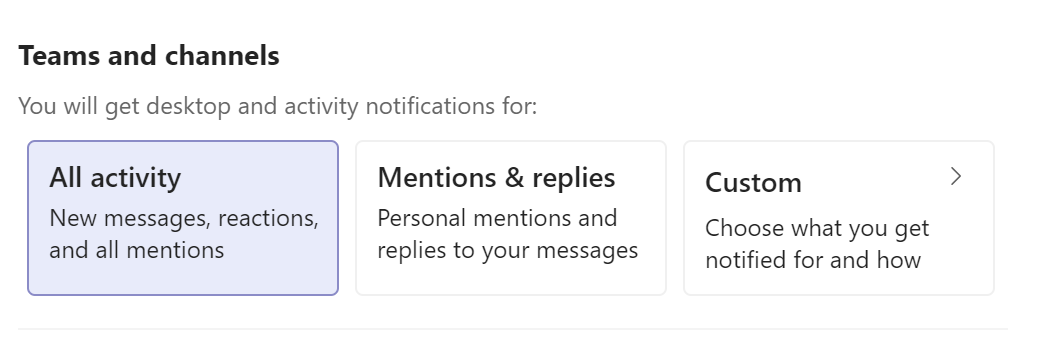
Under the "Teams and Channels" heading select "All Activity".
If you set it "Mentions & replies" you will only get notifications for those posts that mention you directly or those that are replies to your posts.
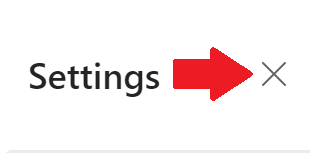
Click the X at the top right of the settings window to close the window and save your changes.
From this point on wards, you will get an email with all the posts and notifications you missed from Teams. It is important to note that this will only show notifications you have missed. If you read a new post in a channel, that new post will not be a part of the email message of missed notifications.
- Channel Forms
Microsoft Teams Sites: Forms for a Quick Poll
Microsoft Teams Sites uses Forms for the creation of Polls.
At this time there are some things to be aware of with Forms:
- They can only be created in Public Channels with in a Team Site. You cannot create a Poll in a Private Channel
- Everyone can see the results of the Poll, as the results are submitted
- You can create more elaborate forms for surveys and such, this section is just for creating a quick and simple poll
To Create a Poll, go to the Public Channel you wish to have the poll for.
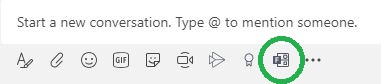
Once there select the Posts tab, and then in the message bar select the forms button
You can then fill out the Question, and potential answers. To add more potential answers, click the Add option link. When finished click the Next button. 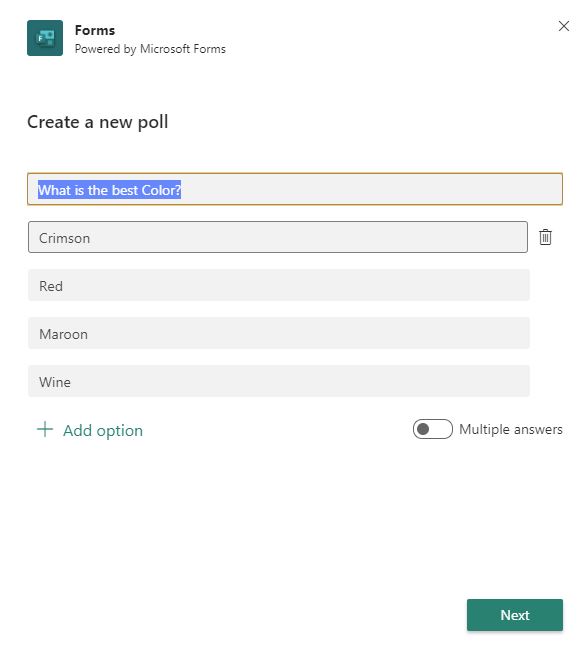
You will then be presented with a preview of the poll. Click Edit lets you go back and make changes, while clicking Send, presents it to the Channel. 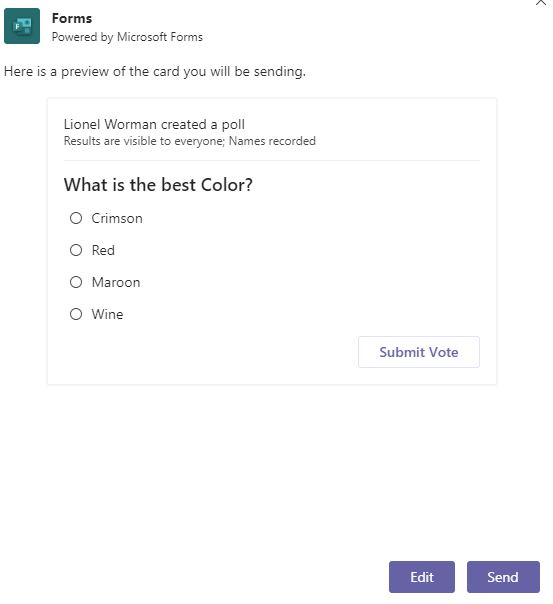
The Poll will then be posted in the Channel for all members to respond to. As they submit their responses, the results will update as members submit their votes, or even change their votes. 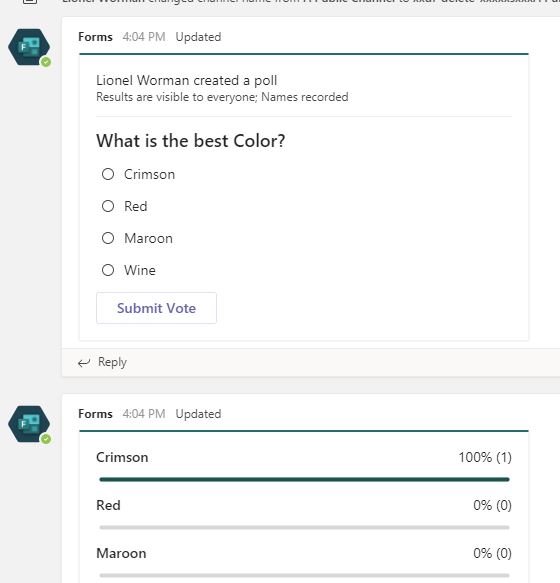
- Creating a link to Moodle
Microsoft Teams Sites: Creating a link to Moodle
(Team Site Owners only)
First log in to Moodle and go to your course page.
Click on the Address bar and copy the URL that is listed there.
It should have the format
https ://moodle.wittenberg.edu/course/view.php?id=#####
Where the ##### are unique to your course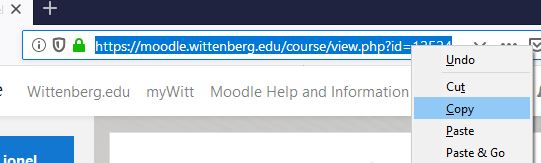
In the Microsoft Teams Client, navigate to the Team Site for your course, and make sure to select the General Tab. 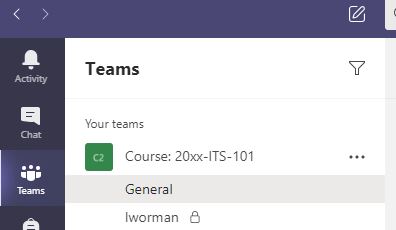
Click on the Plus button, to add a tab to the Team Site 
Click on the Website option 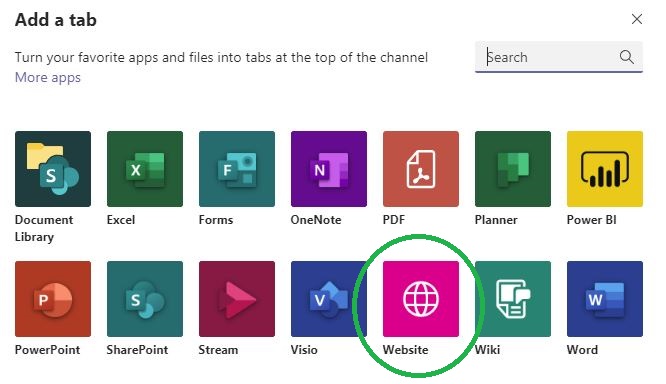
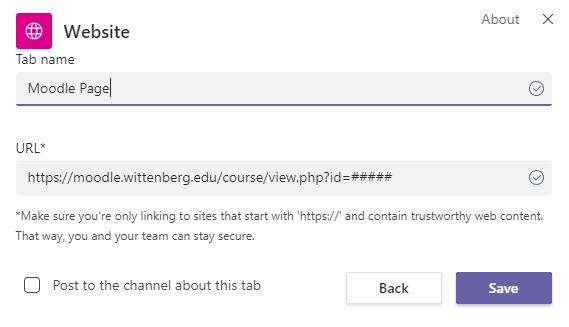
Fill out the Website page with the following info:
- Tab name = Moodle Page
- URL = Paste the URL you copied earlier into this box
- UNCheck the box labeled "Post to the channel about this tab"
- Click Save
There will now be a new tab labeled "Moodle Page" that when clicked on will show the Moodle Log in page. The user can sign into the page, and it will take them directly to the Moodle page for your course. 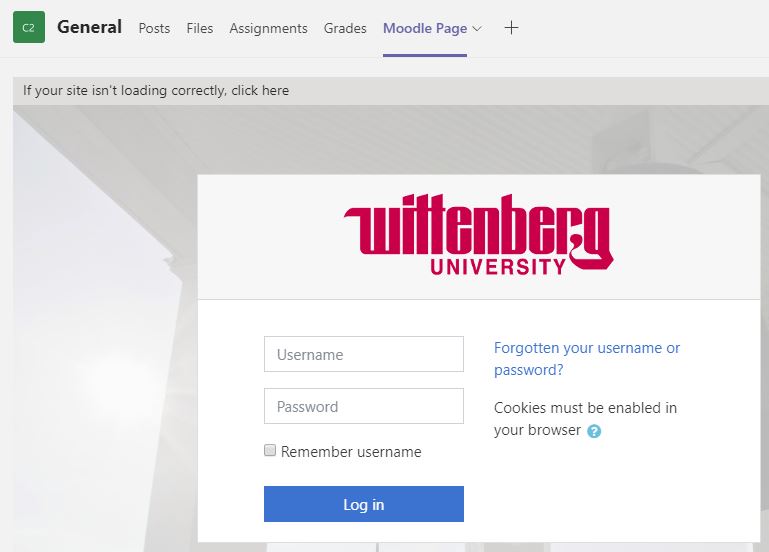
- Creating a link to FlipGrid
Microsoft Teams Sites: Creating a link to FlipGrid
(Team Site Owners only)
In the Microsoft Teams Client, navigate to the Team Site for your course, and make sure to select the General Tab. Click on the Plus button, to add a tab to the Team Site In the search box type in FlipGrid, and click on the FlipGrid option 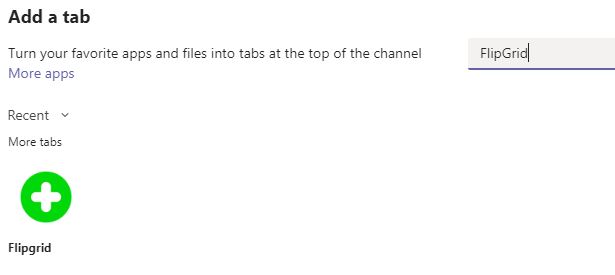
Click the add button under the Flipgrid header 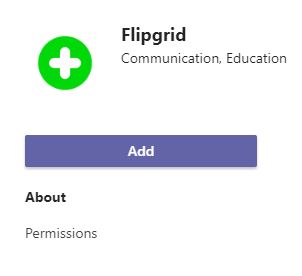
Fill in the appropriate code or URL, then click Save 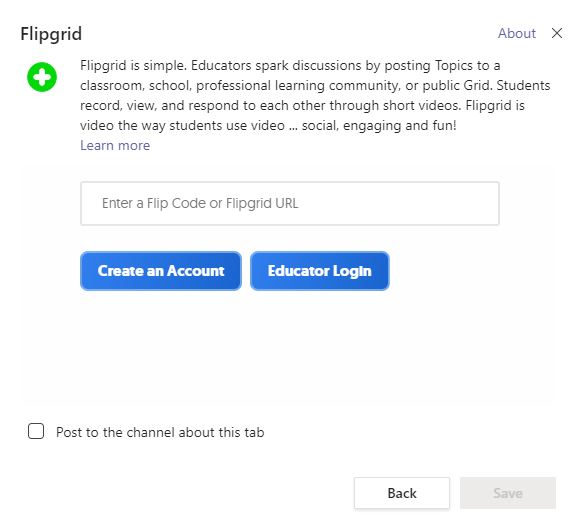
- Creating a new Public Channel (Teams Site Owner Only)
Public Channels are useful for breaking up things into sub groups, instead of having everything happen with the General Channel.
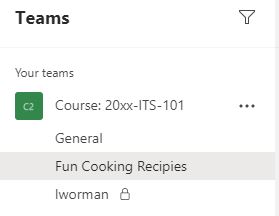
For Example, you can have a Public Channel group for such things as "Fun Recipes" where users could chat about recipes, as well as upload their favorit recipes to the Files section of the Channel.
There is a limit to 200 Public Channels per Team Site.
Click on the "..." option to the right of the Team Site, and then select "Add Channel" 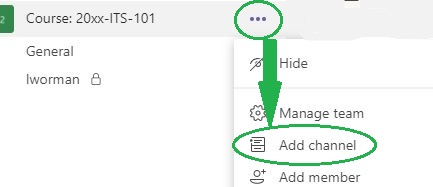
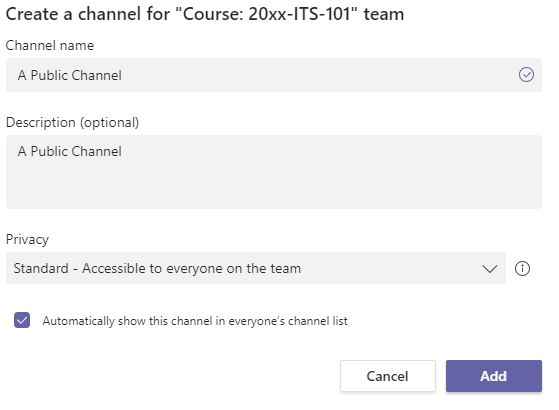
Fill out the information:
- Channel name = The Name of the channel
- Description (optional) = A short description of what the channel is for
- Then change the Privacy option to "Standard"
- Check the box labeled "Automatically show this channel in eeryone's list
- Click Add
You will then see the new channel, along with everyone else in the Team Site 
- Creating a New Private Channel (Teams Site Owner Only)
Private Channels are useful for keeping a user or group of users' posts, files, and/or wikis separated from anyone else's and restricting access to just that select user or group of users.
e.g. you want to have a private Channel for a student so that they can chat with you and store their files for the course without having other students see what is going on.
e.g. You have two groups of students that are in competing projects. You can create a private channel for each team, so they can discuss things, and store files, without worry about the other team seeing what they are doing.
There is a limit to 30 Private Channels per Team Site.
Click on the "..." option to the right of the Team Site, and then select "Add Channel" Fill out the information:
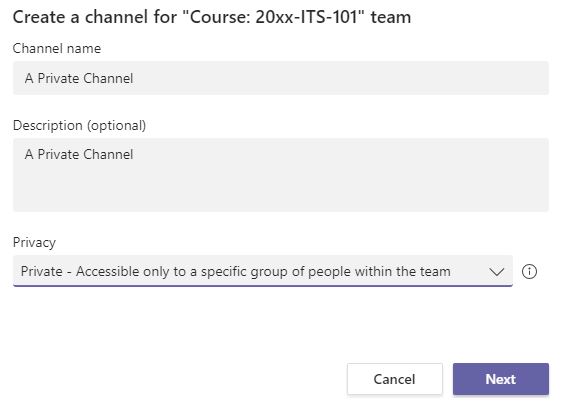
- Channel name = The Name of the Private Channel
- Description (optional) = A short description of what the channel is for
- Then change the Privacy option to "Private"
- Click Next
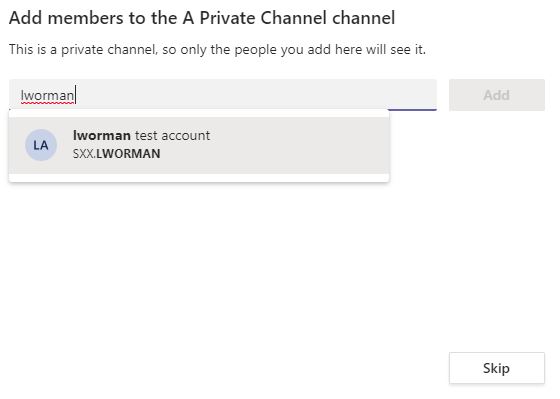
On the next page you can add the users you want to have access to the Private Channel.
You can add multiple people to the channel at this point, just type in their name and click the Add button. The user has to already be a member of the Team Site in order to be added to the Private Channel.
If you are the Team Owner that created the Private Channel, you are automatically added as an Owner to the new Private Channel.
Once you have added the users you can make them additional owners, by clicking the Member pull down and changing it to Owner
If you are the Team Owner that created the Private Channel, you are automatically added as an Owner to the new Private Channel.
Once you have added all the users you want click the Done button

You will then see the new channel, with the Name you set, appear with a lock icon next to it. Only those users who are members will see the private channel. For those that are not members it will not appear it the list of channels for that site. 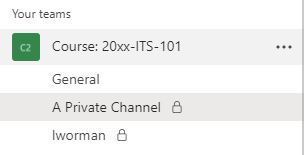
- Adding Users to a Teams Site (Teams Site Owner Only)
Open the Microsoft Teams Client, and go to the Team Site you wish to add a user to. Click on the ellipses next to the Team Site name, and select "Add member" 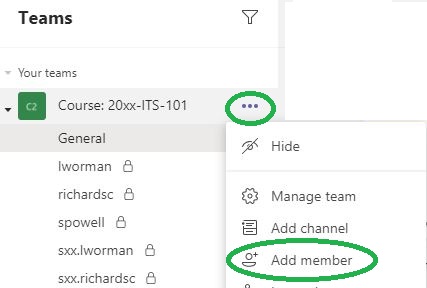
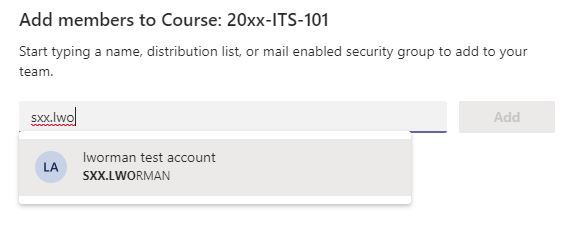
Type in the campus email address of the user you want to add, and select their name from the pull list
NOTE: You cannot add anyone from off campus to a Team site
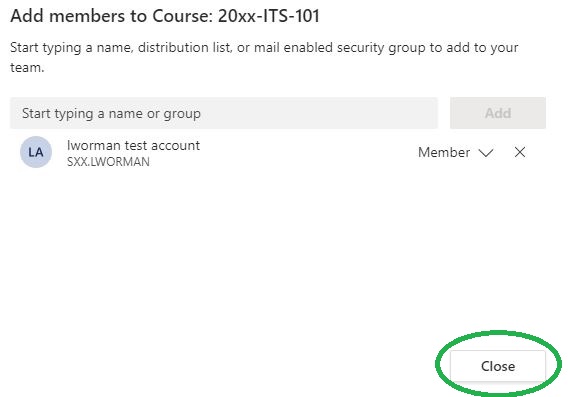
Once you have selected the right person, click the Add button 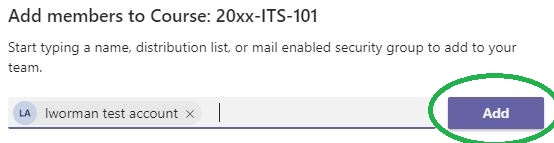
When you have added all the people you want, click the Close button
Note: by default all users are added as members. Do not change them to owners, as this will give that user the power to delete the Team site.
- Removing Users from a Teams Site (Teams Site Owner Only)
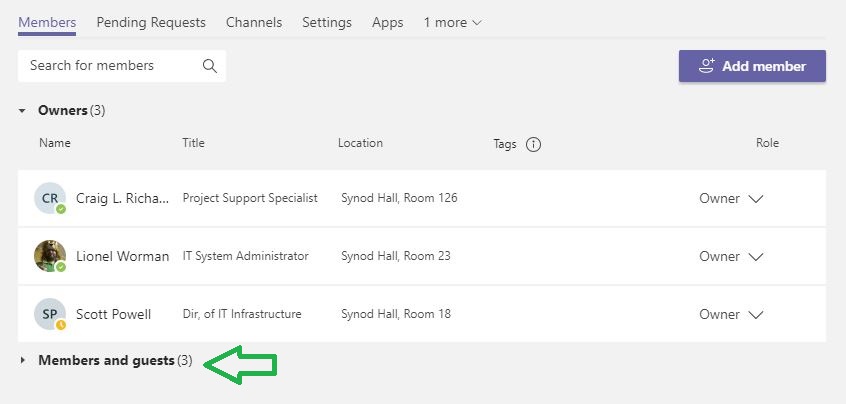
Open the Microsoft Teams Client, and go to the Team Site you wish to add a user to. Click on the ellipses next to the Team Site name, and select "Manage Team" 
This will bring up the list of members of the team, starting with the Team Owners.
To see the other users, you will need to expand the Members and guests section.
Then click on the X to the right of the name of the user you wish to remove from the Team Site 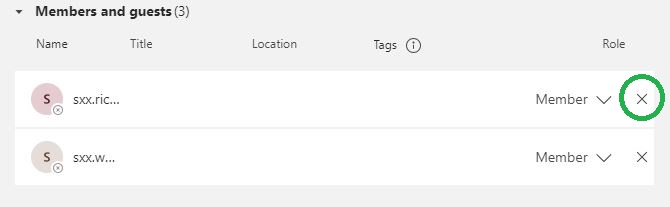
To remove an owner, you first must change their role to member, then remove them from the member list 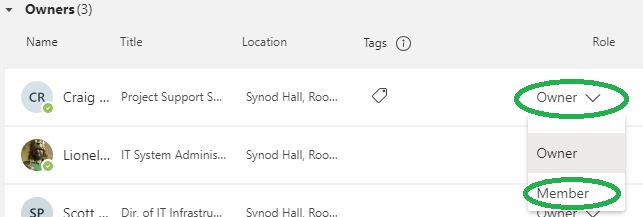
- Adding a calendar to the Team Site (Teams Site Owner Only)
In the Microsoft Teams Client, navigate to the Team Site select the Channel you want the calendar in Click on the Plus button, to add a tab to the Team Site In the search box type in calendar, and then click on "Channel calendar" 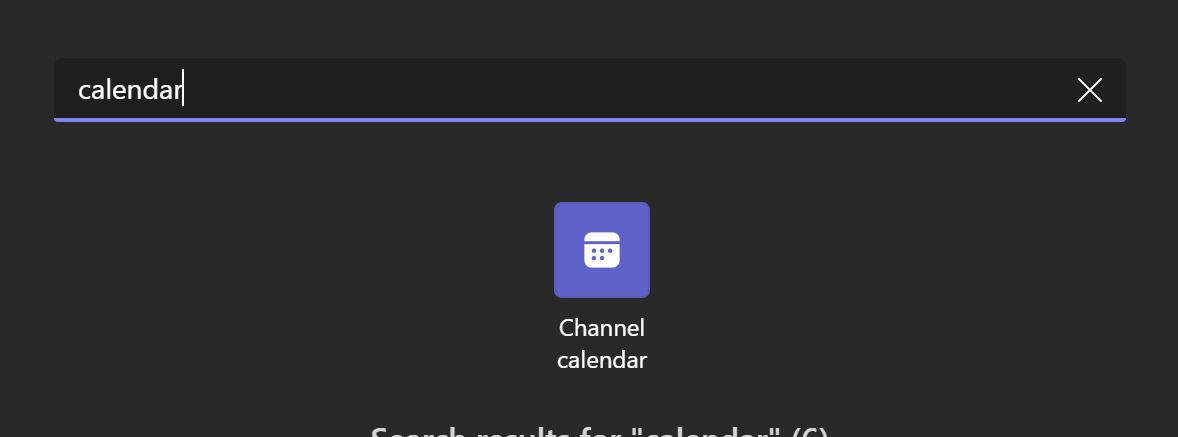
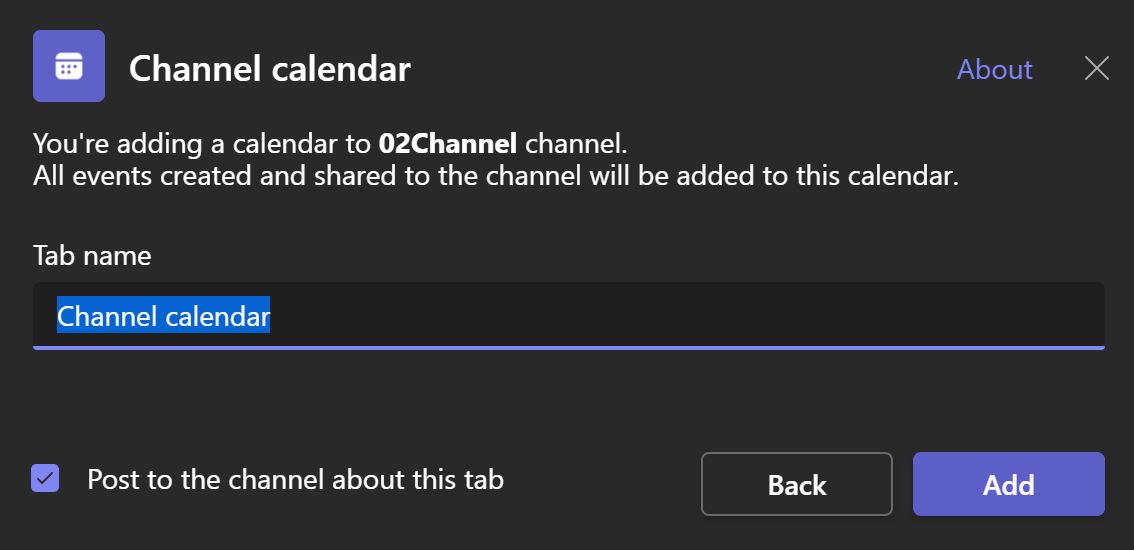
Enter in a name for the calendar, and click Add
The name is how it will appear in the tabs for that channel
You should then see a new Tab for the Calendar in that channel 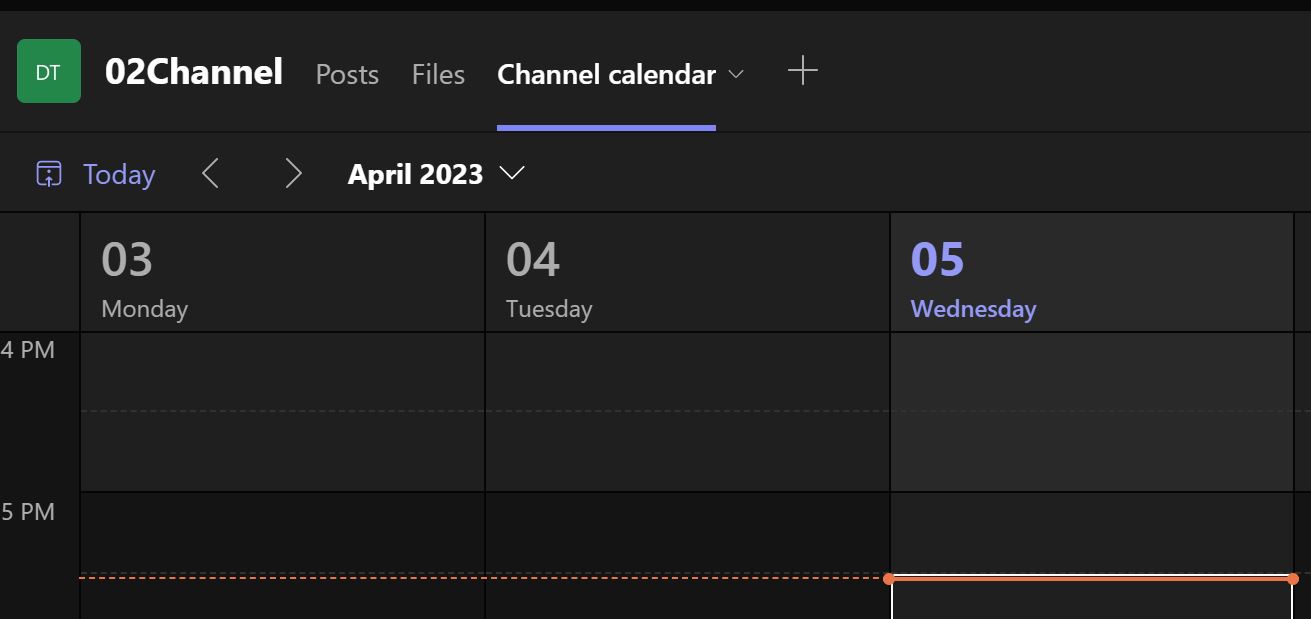
- Setting Files to be Read Only (Teams Site Owner Only)
Open the Microsoft Teams Client, and go to the Team Site you wish to add a user to. Select the channel, and then click the Files tab 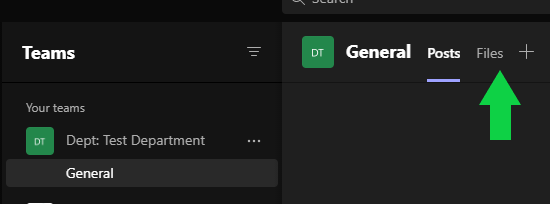
From the ellipses menu select "Open in Sharepoint" 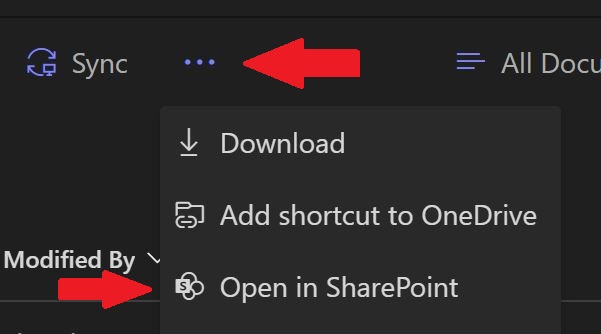
If prompted sign in with your campus email address and password
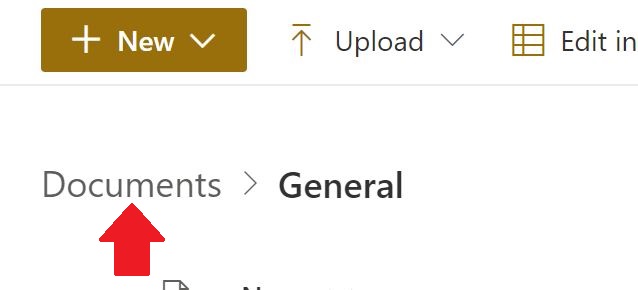
Then click on the Documents heading
To the right of the channel, click the ellipses menu and select "Manage Access" 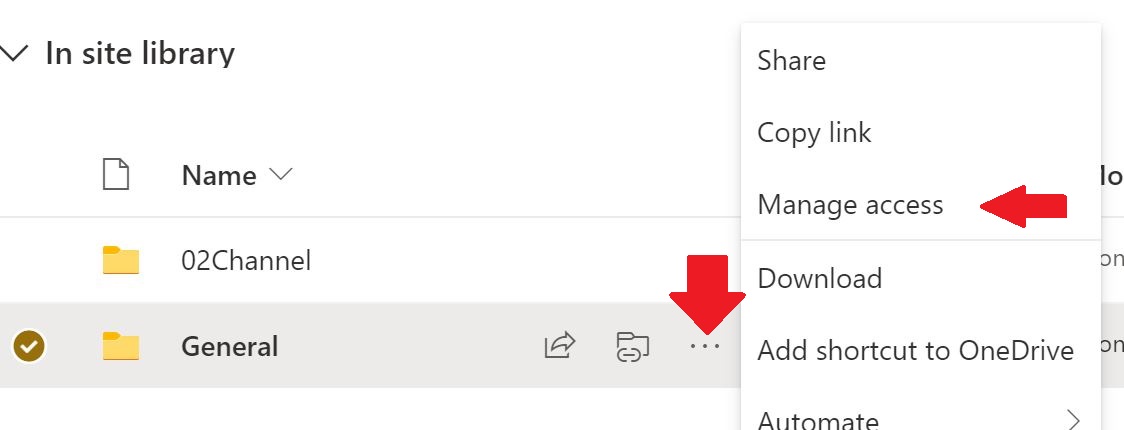
To the right of the "Members" option click on then pencil icon, and change it to "Can view" 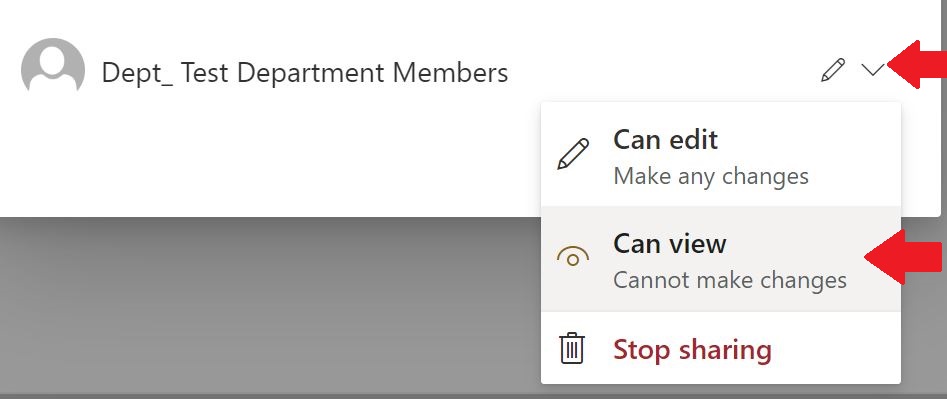
Click the "X" at the top right to close the "Manage Access" page and set the permissions
Then close out the web page
- Requesting a Microsoft Teams Site
Microsoft Teams Sites are built only for Official Wittenberg University Department's, Classes, Student Organizations, Committees, and Projects. If you wish to have a Team Site created, please contact the Solution Center (solution@wittenberg.edu) with your request. Please include the following information in your request:
- The purpose of the site: Department, Class, Student Organization, Committee, or Project
- The desired Name for the Team Site
- Who the owners of the Team Site should be
Note that there is no guarantee that the Team Site will be created.
Frequently Asked Questions
- Channel Files: How do I open multiple documents at the same time with in teams?
Using the Channel Files Sync Option, you should have access to the files in teams, as if it were a regular drive. So you can then open up multiple documents at the same time through that.
- Channel Files: How do we setup Read-Only folders?
There are methods to setup Read-Only folders with in Teams files, but that requires some work in the back end to do so. If you need such a folder, please contact the Solution Center with your request and we will work to set that up for you.
NOTE this is different from setting up a restricted folder that only certain people would have access to. That again would be a request to the Solution Center to help setup.
- Channel Files: How do we setup a restricted folder, that only certain people in the department can access?
The Team Site Owner can setup a Private Channel that would be only accessible to those specified users. With in that Private Channel will be a Files option specifically for that private channel.
- Channel Files: How do I allow student workers access to the files and folders in my Department Site?
Student workers should not have access to your Departmental Teams Site. If you need to work with Student Workers, let the Solution Center know, and we will setup a different Teams Site so that you can collaborate with your Departmental Student Workers.
Microsoft Teams Live Events
- Notes about being an Attendee to a Microsoft Teams Live Event
- Attendees will be able to view and listen to the live stream
- Attendees do not have the ability to user their microphones or present information
- Attendees can use the A&Q option to ask questions

- Some Apple Mobile Devices may not have the option for Q&A
- The Q&A option maybe closed at the start of the event, and opened up later
- Anonymous questions may or may not be answered
- Questions attendees ask, and answers attendees receive are not public unless the Event staff make it public
- How to join a Microsoft Teams Live Event
First make sure you have the Microsoft Teams application downloaded and installed on your system.
For campus systems Microsoft Teams is automatically installed.
Presenters must use a desktop client, the web and mobile clients will not allow for presenting.
- Please review the previous sections on how to install the Teams Client on to your system
- Also please review the previos section about being an Attendee to a Microsoft Teams Live Event
Once installed be sure to open the Microsoft Teams Client and sign in with your Wittenberg University account.
If you are guest, the account information should be provided to you via email, from either the Solution Center or the Live Event Organizer.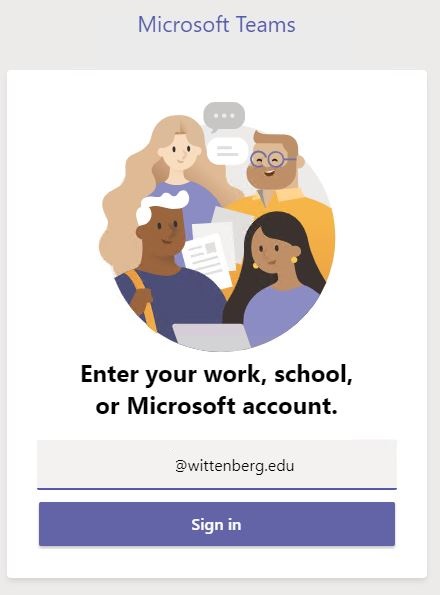
You should have a link provided to you, usually via email. 
Clicking on the link will bring up a web browser, that will take you to the live event page, click on the "Launch it now" link to join the Teams Live Event with the Microsoft Teams Client 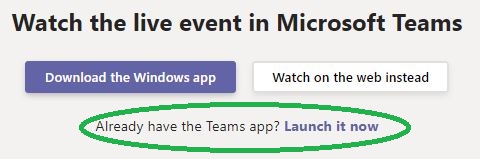
Windows Desktop with Edge
You will need to click open link when it appears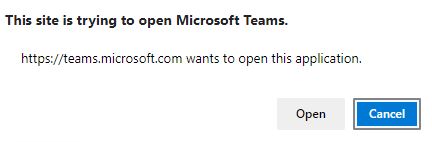
Windows Desktop with Firefox
You will need to click the Launch it now link, and then specify Microsoft Teams as the application, and click the Open Link button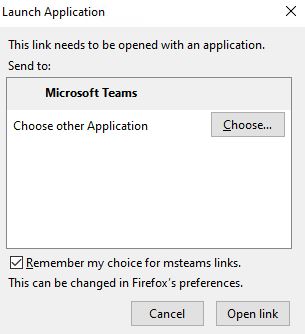
Macintosh with Safari
You will be asked to allow the page to open "Microsoft Teams", click Allow.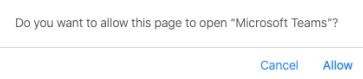
- How to invite a non-Wittenberg person as a Guest to a Microsoft Teams Live Event
Microsoft Teams Live Events are only accessible with a Wittenberg University account. So the following options is provided for allowing non-wittenberg people to attend as an attendee or presenter.
We highly recommend that you setup a Teams Meeting if you want to invite any Guests to a meeting instead of Teams Live Event.
- You will need to send an e-mail to the Solution Center at least 3 Business Days before the live event with the following information:
- The Date of the Team Live Event
- The Full Name of the Guest
- An E-mail address for the Guest
- Whether or not the guest will be presenting or just attending
- The Solution Center will provide you with the username and password for the guest account, if it is decided to provide one to for the guest and/or event.
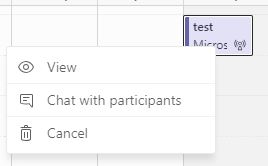
- Open up the Microsoft Teams client
- Go to the Calendar, and then right-click on the Teams Live Event and select View
Click the "Get attendee link" link, and then paste the copied link into an new email. 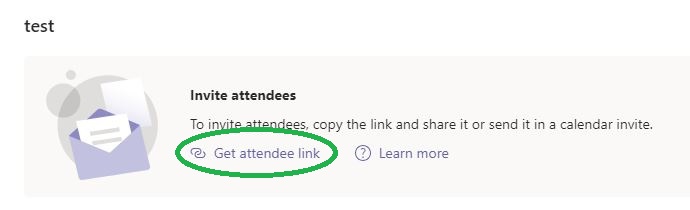
Click the Edit button 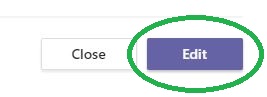
To add the guest account as a presenter, enter in the Guest account name into the "Inivite presenters" box. 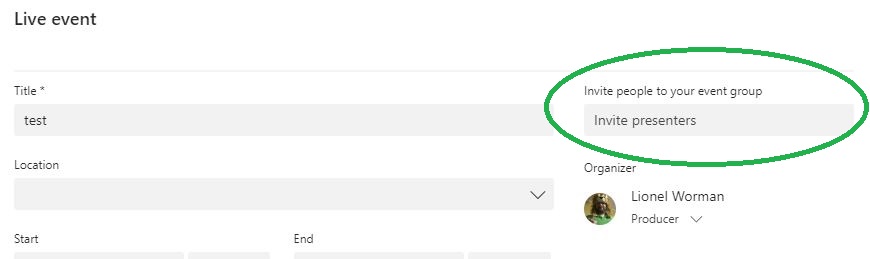
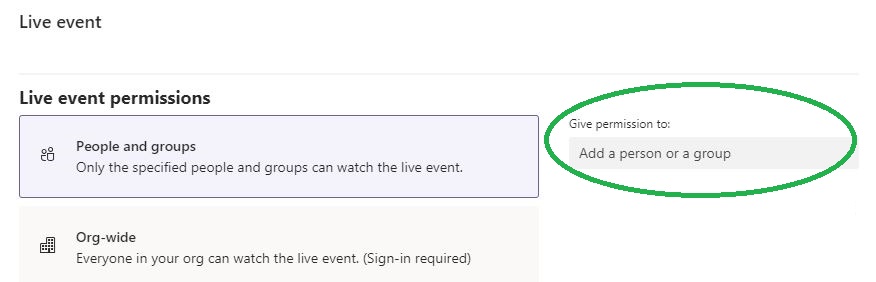
To add the guest account as an attendee, click the Settings button, and then add the person using the "Add a person or a group box 
When finished adding guest presenters or attendees, click the Update button 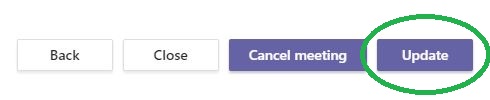
You will then need to send an email to the guest with the following information:
- The username for the Guest account provided by the Solution Center
- The password for the Guest account provided by the Solution Center
- The date and time for the Microsoft Teams Live Event
- The URI for the Microsoft Teams Live Event (as shown earlier in this section)
- The following URI for this web page of instructions:
www.wittenberg.edu/administration/informationtechnology/microsoft-teams
- You will need to send an e-mail to the Solution Center at least 3 Business Days before the live event with the following information:
Video Tutorials
These resources might show methods and practices that will not work in a similar manner if at all with Wittenberg University Microsoft Teams Setup. We are not responsible for the content that is displayed, or whether they are up to date. We are providing them to help while we work to provide our own tutorials.
- Microsoft Sites:
- Microsoft Teams Video Training (Microsoft Site)
- Tutorials for Campus Faculty & Staff only through Microsoft Streams
- Using an OWL web camera with Microsoft Teams (Faculty & Staff only through Microsoft Streams)
- Sharing the Desktop and viewing teams with Extended Display (Faculty & Staff only through Microsoft Streams)
- Tutorials by Kevin Stravert on YouTube
note not all these will work for our campus installation - Microsoft Teams Tutorials
- How to use Breakout Rooms in Microsoft Teams by Kevin Stravert (YouTube)
- How to create Assignments & Grades in Microsoft Teams by Kevin Stravert (YouTube)
- Microsoft Teams and PowerPoint Presenter View by Kevin Stravert (YouTube)
- Other YouTube Tutorials
- How to use assignments in Microsoft Teams (Complete overview) by Flipped Classroom (YouTube)
Microsoft Teams Keyboard Shortcuts (From Microsoft)
Last reviewed May 11th, 2026